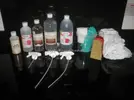
As summer gradually slips into winter I wanted to give the Convertible roof on my wife's car a bit of a birthday before we put it away for winter and re-fitted the Hard Top to her car. I read a review in a magazine about a new Convertible Restoration Kit kit available from the Furniture Clinic which gave some good results, so I thought I'd have a go. The official blurb from the website:
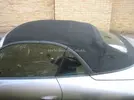
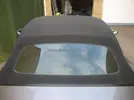
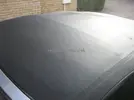
The roof was looking a little tired after several summers worth of fun and (I'm guessing) little care & attention given to it previously:
STEP 1 - SCRAPE DIRT & MOULD OUT OF FOLDS
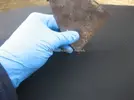
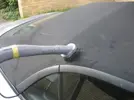
STEP 2 - THOROUGHLY CLEAN ROOF WITH FABRIC CLEANER & SPOTTER.
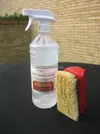
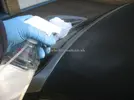
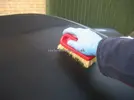
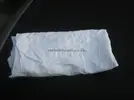
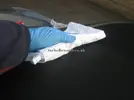
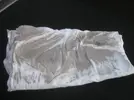
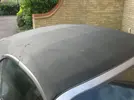
This was definitely the cleanest the roof had been for a long time. There were no there little spots of sh1te dotted over the roof.
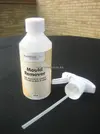
STEP 3 - TREAT THE ROOF WITH MOULD REMOVER
STEP 4 - MIX THE FABRICOAT AND PENETRATING SOLUTION
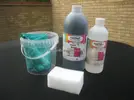
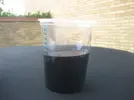
I ended up only mixing only 300ml in total which turned out to be just enough to do the whole roof.
STEP 5 - APPLY THE FABRICOAT
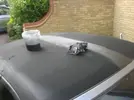
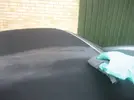
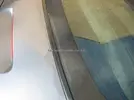
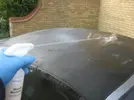
I applied "The Mix" in 6 inch sections to the roof. You can see in the picture above, it goes on in almost a milky/foamy way so you can easily see where you've been. BE CAREFUL to wipe off any excess "MIX" from your car's bodywork as soon as possible (as seen in the picture above) as it does dry quite quickly and will stain.
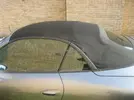
STEP 6 - APPLY FABRIC PROTECTOR
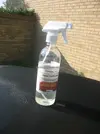
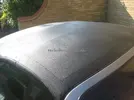
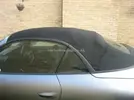
So after about 3 hours of scrubbing, wiping & cleaning I was very pleased with the final results and look forwards to another summer of top down motoring next year!!
Thanks for reading
- The Convertible Roof Restoration Kit is designed to allow anybody to completely restore the colour of any worn or faded convertible roof. Many soft-top owners maintain or restore the bodywork, mechanics and interior of their vehicle to a high standard, only to be left with a roof that looks old, faded and grubby. With our kit, this no longer needs to be an issue!

The roof was looking a little tired after several summers worth of fun and (I'm guessing) little care & attention given to it previously:


STEP 1 - SCRAPE DIRT & MOULD OUT OF FOLDS
- Often mould & dirt builds up in the folds near the edges of the roof, remove as much of this as possible. To do this, simply open up the fold and take a wallpaper stripping knife or similar blunt instrument and run it along the fold, removing as much of the build up as possible.


STEP 2 - THOROUGHLY CLEAN ROOF WITH FABRIC CLEANER & SPOTTER.
- Spray liberally onto the area to be cleaned, this should be applied in sufficient volume for the material to appear wet. Agitate the area well with the Tampico Brush.


- After Agitating, let it dwell for 10 - 15 minutes, allowing time for the Fabric Cleaner & Spotter to break down and separate the dirt from the fibres of the material. After this time has passed, take a clean cloth and wipe the area down, applying pressure as you do so. As you do this you will notice the dirt being absorbed into the cloth. Repeat this process until you are satisfied that the roof is as clean as possible.


This was definitely the cleanest the roof had been for a long time. There were no there little spots of sh1te dotted over the roof.
STEP 3 - TREAT THE ROOF WITH MOULD REMOVER
- Once clean, it is important to treat the entire roof with Mould Remover. Treat and affected areas by spraying directly onto the surface. Take care to treat the inside of the folds scraped previously. Once affected areas have been treated, spray a light application of Mould Remover onto the entire surface and let it sit for 1- 15 minutes; then wipe down with a clean cloth, including the inside of the folds.
- For particularly severe cases of mould you should leave the Mould Remover to dry after being sprayed. This will make absolutely sure that all traces of mould have been eliminated.


STEP 4 - MIX THE FABRICOAT AND PENETRATING SOLUTION
- Using the bucket provided, mix 500ml of FabriCoat with the Penetrating Solution in a ratio of 1:2 (250ml of Penetrating Solution with 500ml of FabriCoat). Once the correct ratio has been achieved, stir well, this will then be referred to as "The Mix"


I ended up only mixing only 300ml in total which turned out to be just enough to do the whole roof.
STEP 5 - APPLY THE FABRICOAT
- Take the sponge included in the kit and wrap a clean lint free cloth (included) around it. This forms a handy and easy to use applicator that absorbs the FabriCoat and helps to control it's release. Dip this directly into "The Mix" and wipe away any excess onto the edge of the bucket.
- Apply "The Mix" by rubbing the sponge into the surface, applying pressure and working it into the material. Though it can be applied with any directional stroke, the best results may be obtained by applying in controlled straight lines, working from the middle of the roof to the edge.
- Do this until you have completely coloured the surface of the roof. If further depth of colour is required, apply more coats in the same manner.


I applied "The Mix" in 6 inch sections to the roof. You can see in the picture above, it goes on in almost a milky/foamy way so you can easily see where you've been. BE CAREFUL to wipe off any excess "MIX" from your car's bodywork as soon as possible (as seen in the picture above) as it does dry quite quickly and will stain.

STEP 6 - APPLY FABRIC PROTECTOR
- When touch dry, it is strongly recommended that you protect your roof with the fabric protector, this provides an invisible barrier that protects against fading and repels water, staining and dirt, making your roof easier to clean and maintain, while keeping it looking new for longer.
- Spray the Fabric Protector onto the surface of the roof ensuring sufficient volume so that the area being treated appears wet, then repeat until the entire roof has been covered and allow to dry.


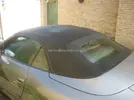
So after about 3 hours of scrubbing, wiping & cleaning I was very pleased with the final results and look forwards to another summer of top down motoring next year!!


Thanks for reading

