Amazing work 
Not really, it’s only a hobby one and the worst rot I’ve had to deal with so far. Fillerwork always makes it look pretty haha.
No updates, yet, back on with it soon.
Just spent a good half hour flicking through this, fookin epic…Love the work ethic, picking it apart and piecing together, all hand made panels.
People don’t realise whats going on under their feet until Mr MOT tester knocks a hole through, lots of peoples open wallets are mesmerised by shiny things, but mention 2..3…5K… on a cars structure and it snaps shut…it’s fooked …weigh it in.
Makes my Campus refresh look like a stroll in the park.
Update time as I’ve finally had some time to get back on with the car after about a year!
On the plus side, all rust dealt with hasn’t returned so it’s just a continuation of works.
On the o/s of the car the sill has been etched on the inside

Sill end plate

Fitted

More fillerwork


With some primer

Checking over the engine bay to see where it’s at and primer to some areas


Some additional filler and primer to the nsr arch

Having another look as the bubbles around the rear windows the decision was made to remove them


The quarter to roof joining strips also removed

Other bits removed too

Some minor repairs required around the sunroof

The nsf door has had some previous work

Primer was flatted to blend in and primered again

There was some extra work required within the boot space so that was dealt with and primered


Moving onto the ns quarter again, there are a few dings requiring filler
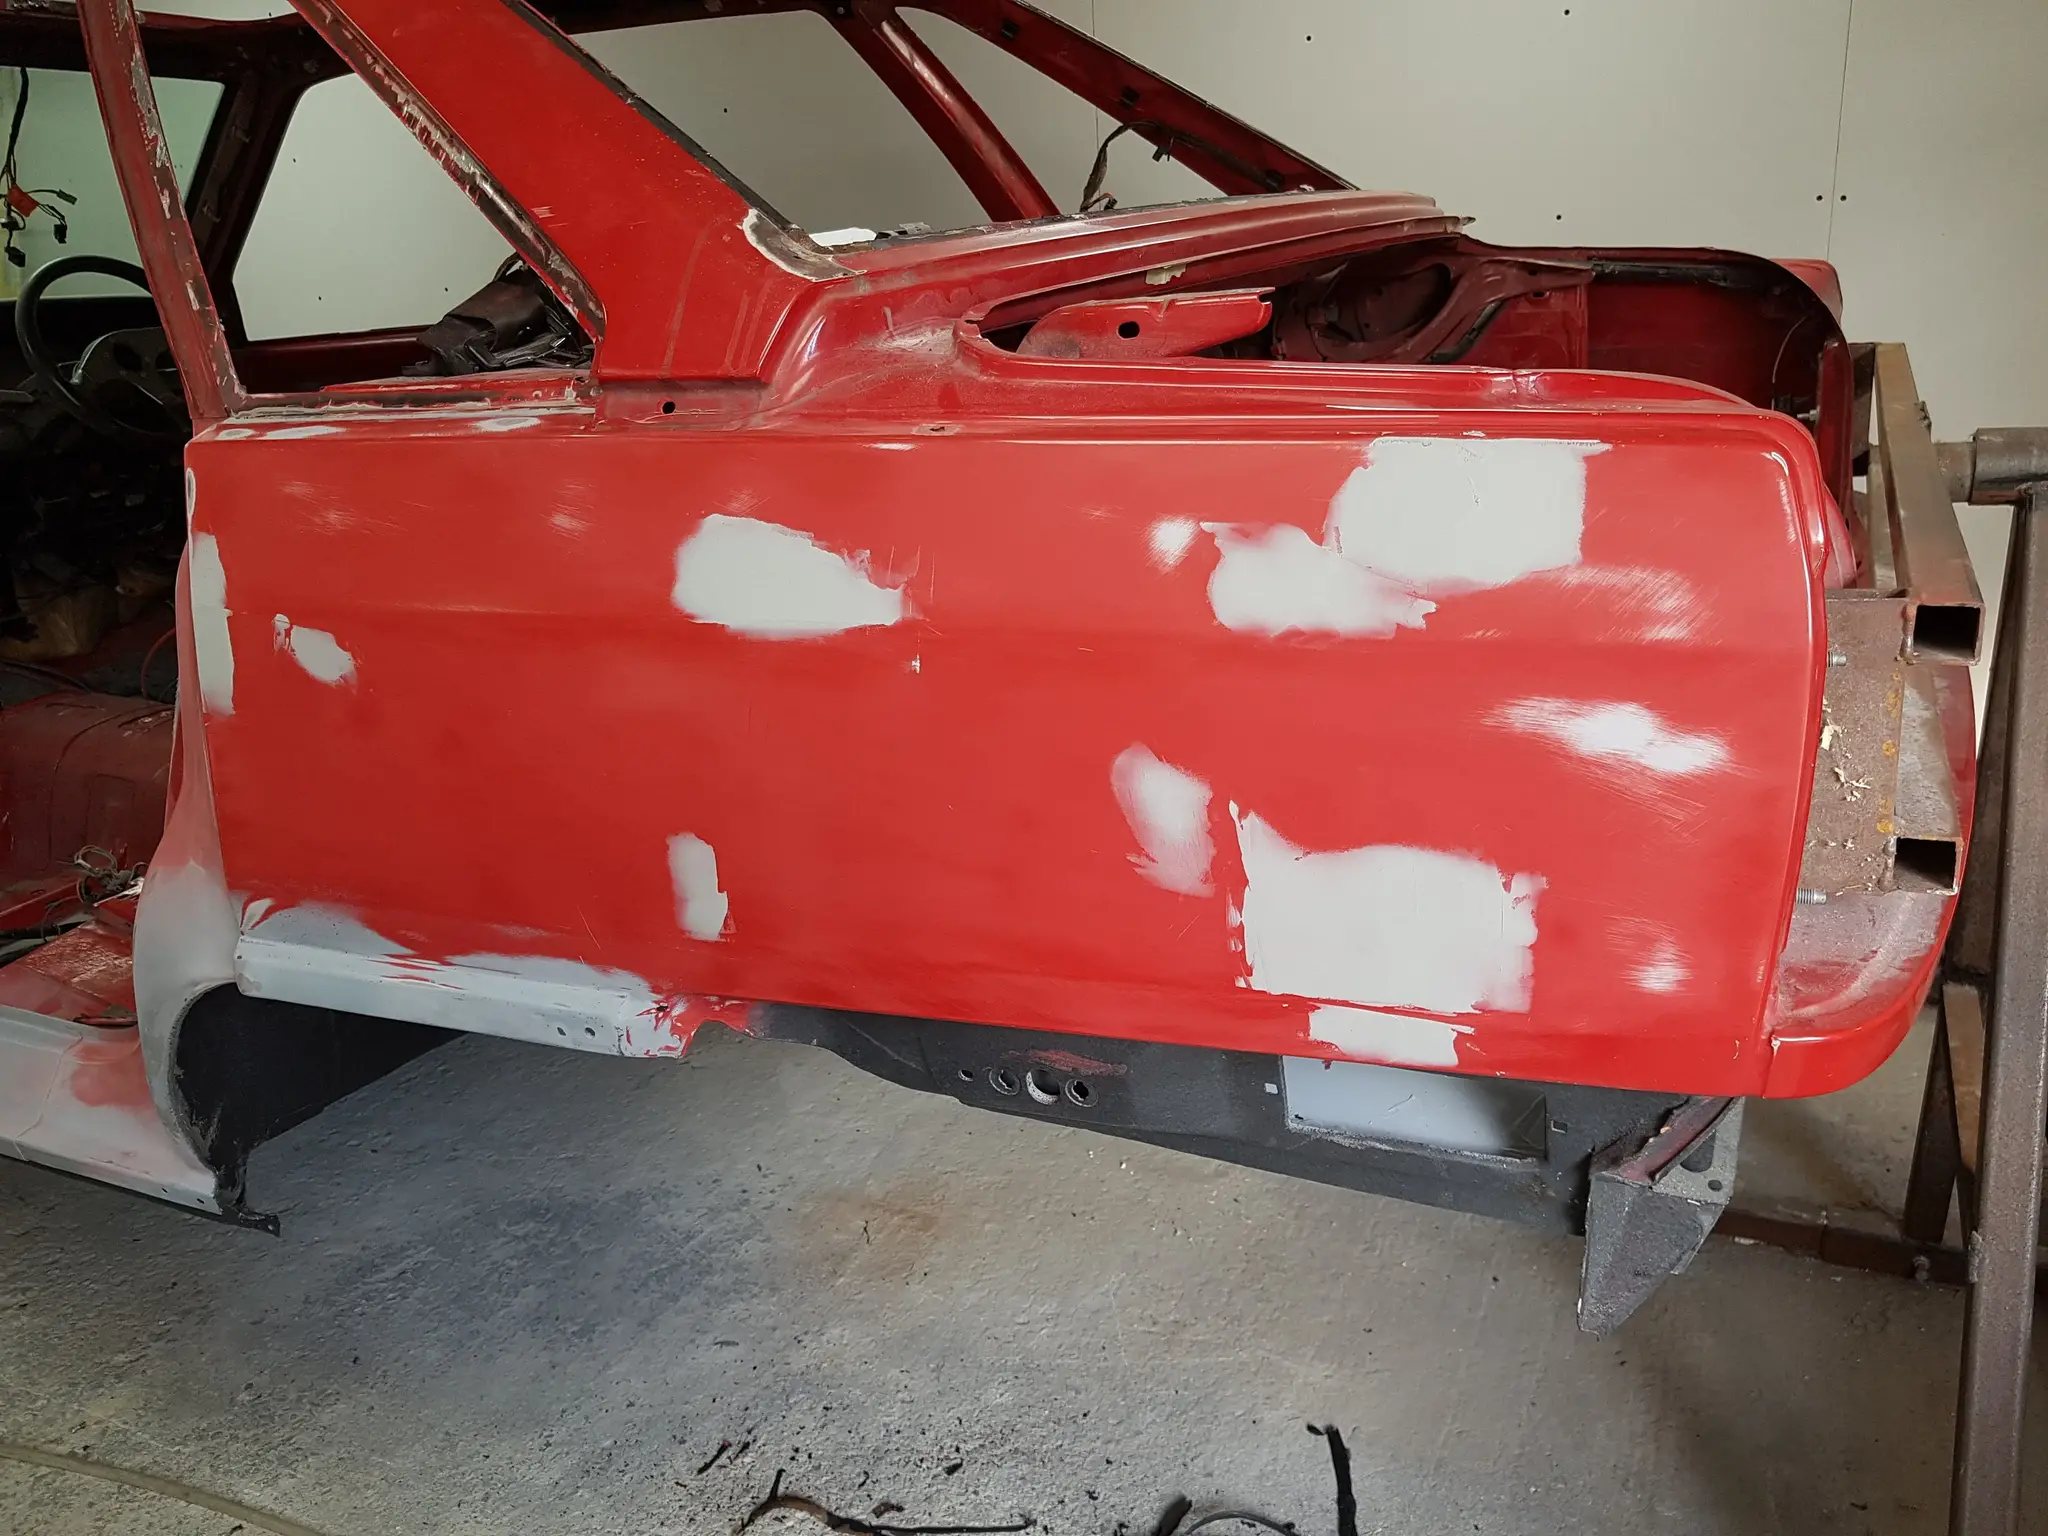

With more work to the os quarter too

Some minor work around the rear window and primer to the back end

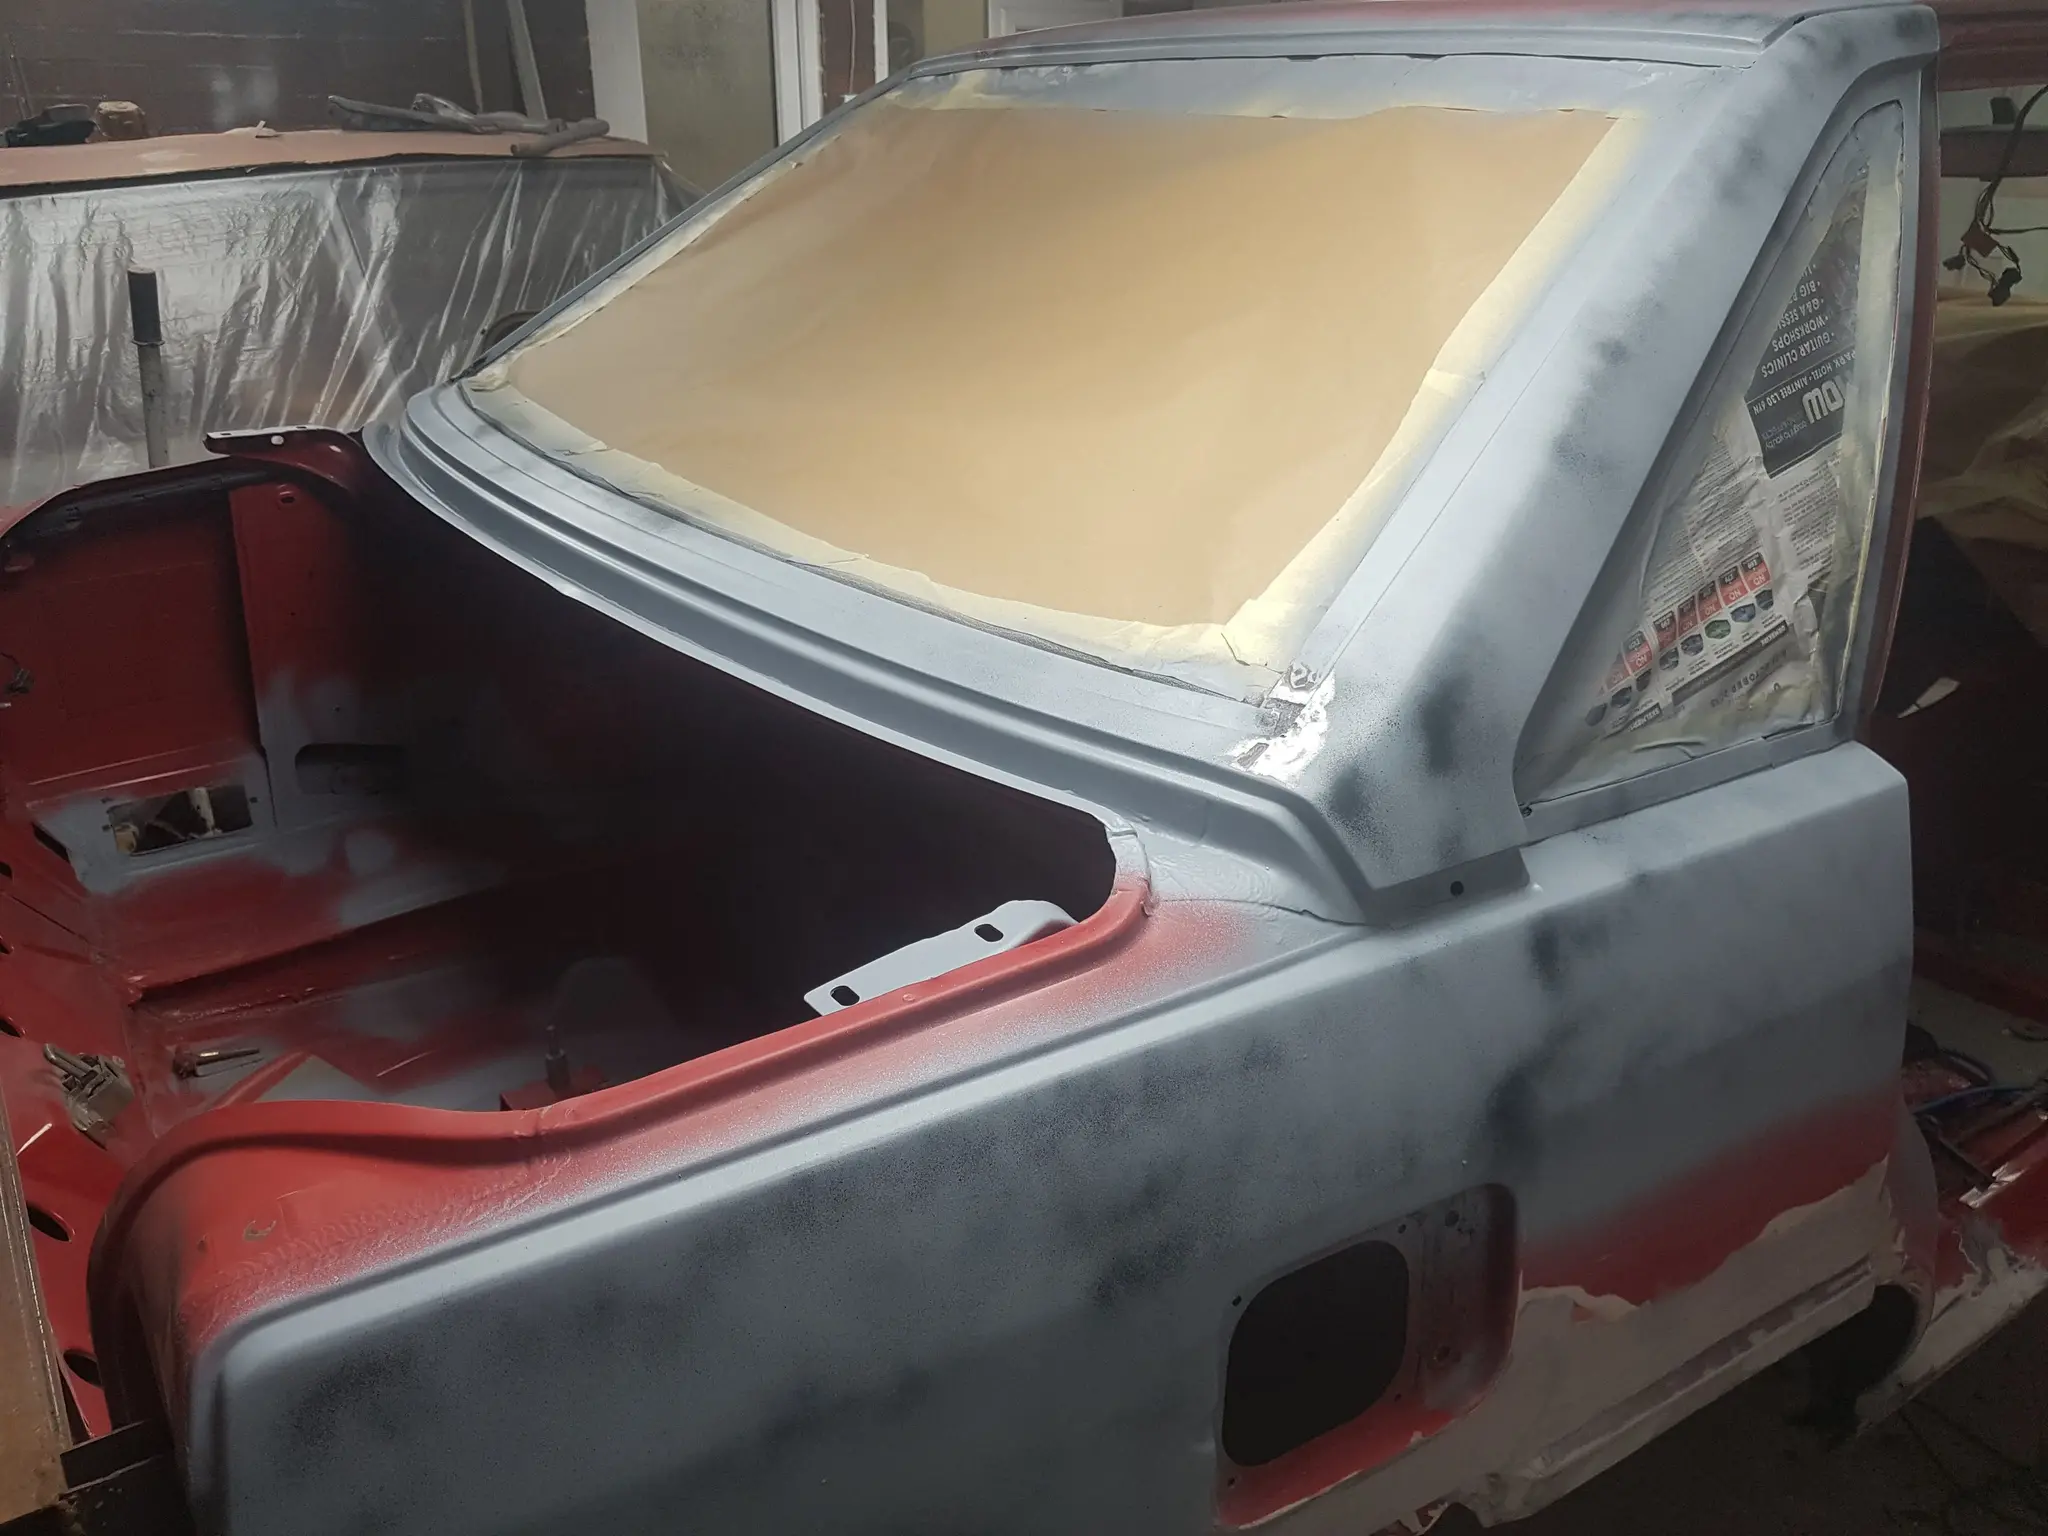


Taking some time away from the car so that things end up in sync with the body I’ve started getting a few bits out to be powder coated, once I find a company whose work is actually as good as they claim!


Always look forward to a Haz update.
Nice work mate
Is that because they are a long time coming? It’s nice to be back on it and making some progress!
No, genuine interest in something I know little about
Haha, I suppose it has all the steps along the way rather than just before and after paint pics, for a more complete resto thread.
Yay! At last! Good to see some movement, with I was this far on with welding and body resto with mine lol
I felt the same way. There’s still about 10 plates to go in, and blasting in places but it’s nice to get back in the garage, it’s been a long time coming!
Some further progress finishing off a few more rusty areas!
The ends of the chassis legs bolt through the seat runners and rust has crept along the seams


The end of the leg removed


With rusty sections cut out

Smaller repair has a small plate fitted into the floor and the end cleaned up and re-attached


The larger repair section fitted


Fillerwork to the inside

With seam sealer smeared about to fill up the depth of the original coating

A rusty corner in the rear footwell where the fuel pump wiring goes through


Repair section

And fitted

Gravitex to both sides


Fillerwork and seam sealer to the outside

With another coat of gravitex to the outside

Around the rear screen had three holes with another just on the top of the quarter panel which can be seen on the previous post.

Areas opened up


Plates made


Areas cleaned up and zinc primered


Plates fitted


More filler work


Then coated with primer


The roof/sunroof surround had a few holes too so that was chopped out


Plates made

Fitted

Some fillerwork

And primered

The osr door had seen better days too


So sections were removed from both the inner and outer skins

Plates added to the inner skin

With a section added to the outer skin


The nsf door also wanted a small section chopping out and replacing


Moving onto the ns turret it had gone in the usual areas and needed more drastic measures.


The outer was removed for better access

Inner section cut out and rust dealt with


Plates made


Fitted

Holes plate up


Outer re fitted and blended in

The nsf subframe mount was also still missing

so some plates made

And fitted, then coated with gravitex


Working back inside the car, some ares used to have sound deadening. Currently the plan is not to replace it. The seating area is covered with trim so I don’t plan to paint the inside but although the boot has carpet, access to the spare wheel would show the body so I plan to paint it. With that the wheel well is cleaned up and masked off

And gravitex applied to make it more durable where the wheel may rub

More to follow, these updates take a while to do!
Cracking on now mate, well done 
Awesome repairs, especially around the window and sunroof. Much left to do before paint ?
Thanks. Not really, I think that’s all the welding done so another week of tweaking should see the main shell in paint. Although a couple of weeks before I can get on it again.
Read stuff like this all day long, fully appreciate the work going into this and the Phase 1.
Hurry up before I turn mine into a ruined shell of blown holes and weld spatter.
I hope you’re looking forward to changing my roof skin because I have decided my talent doesnt stretch that far lol
Excellent work, as always!
Holy thread resurection Batman!
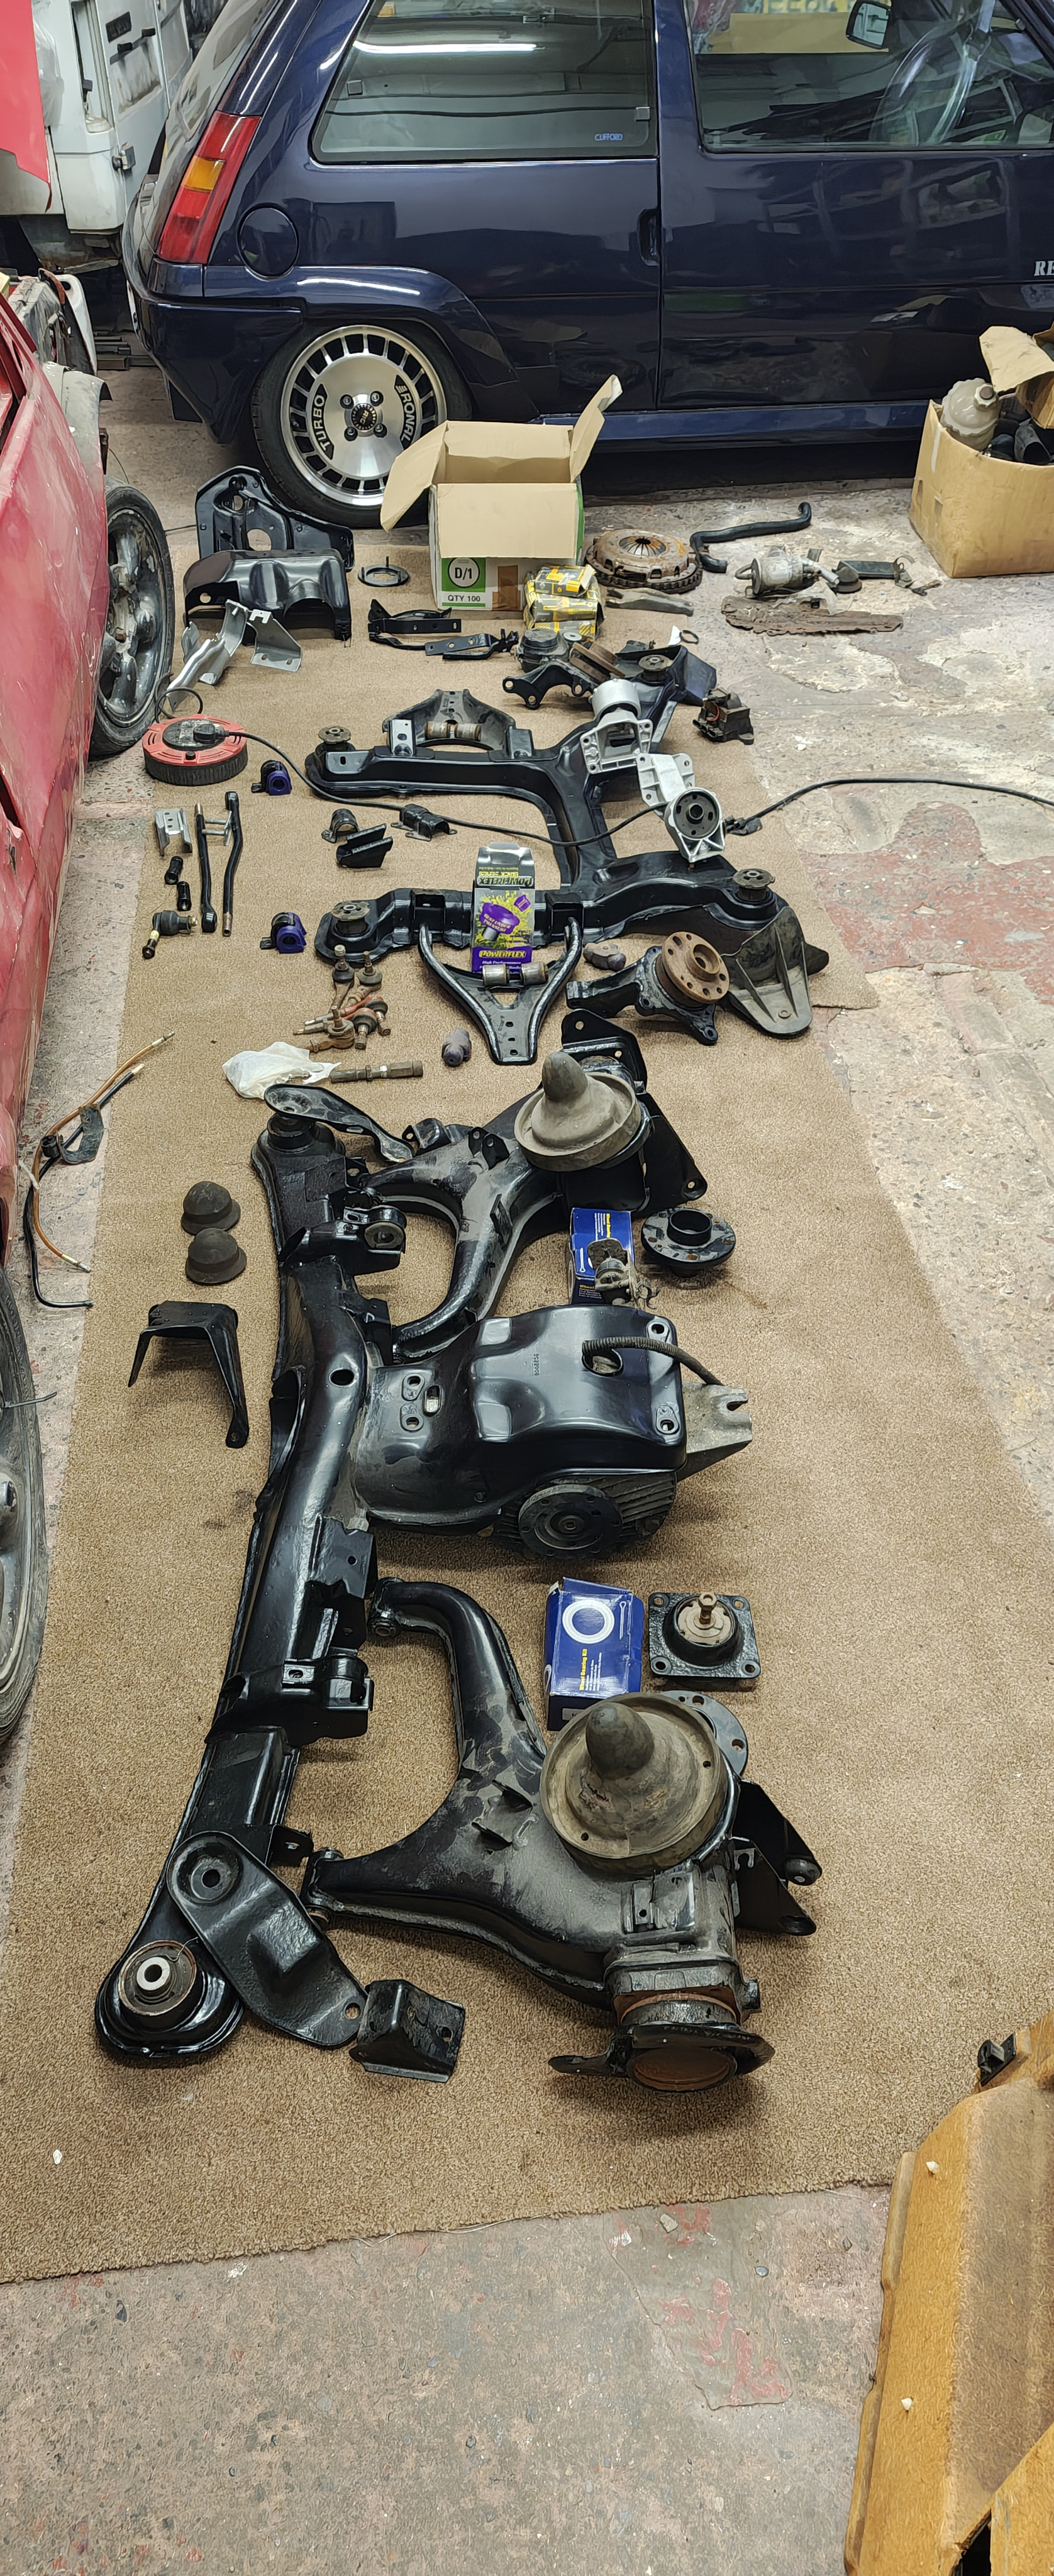
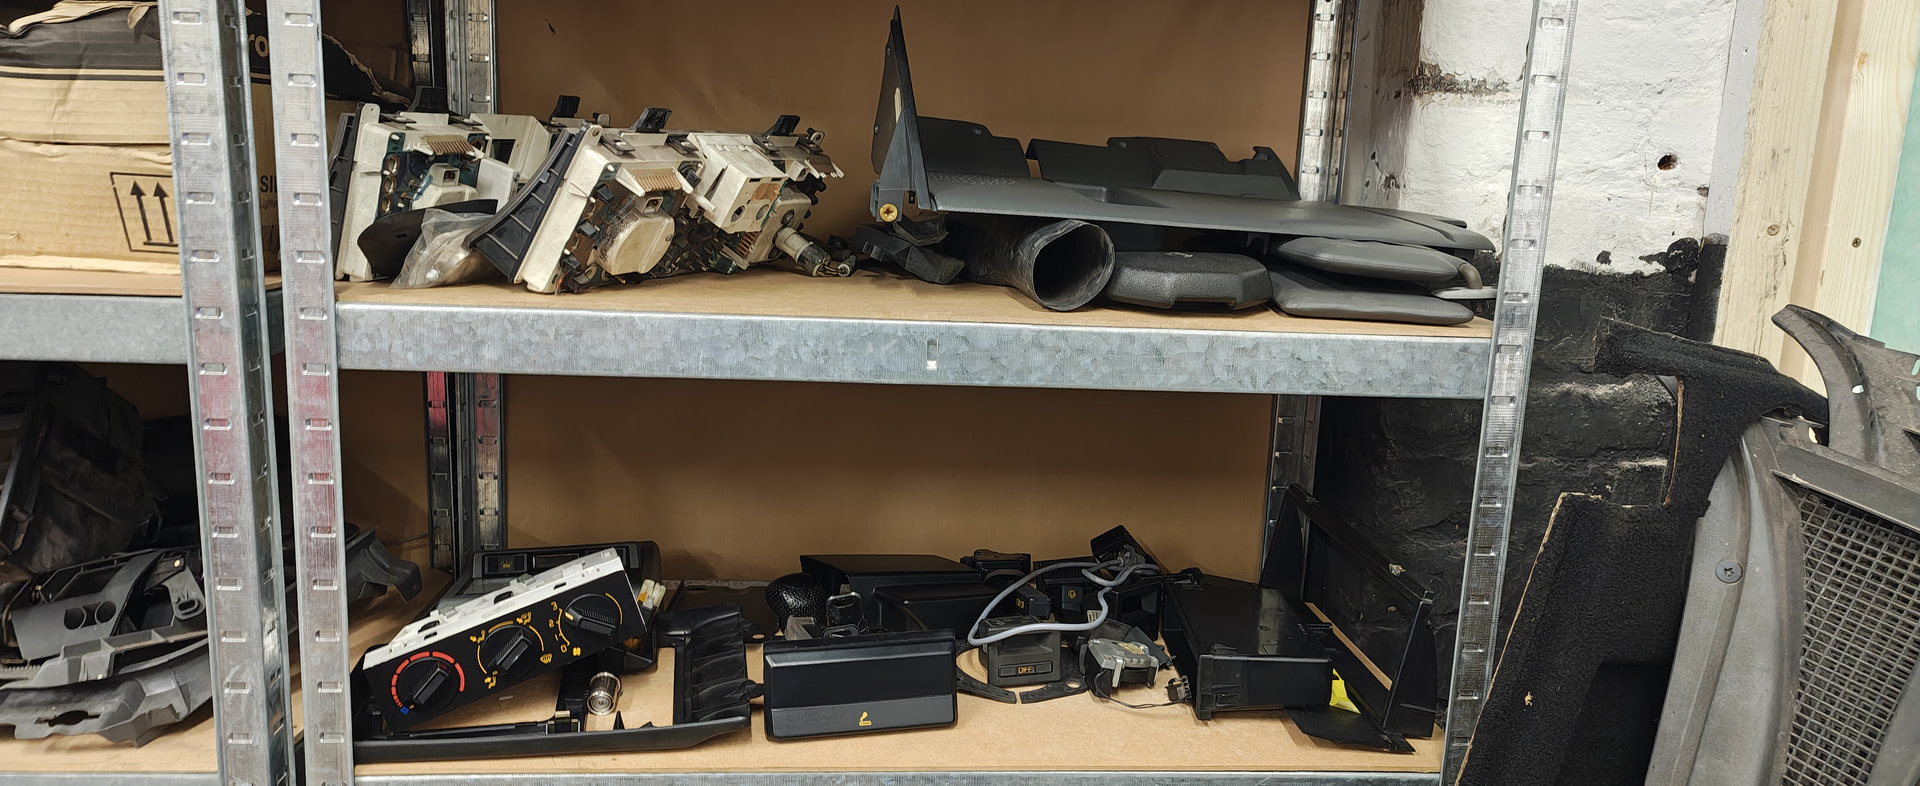
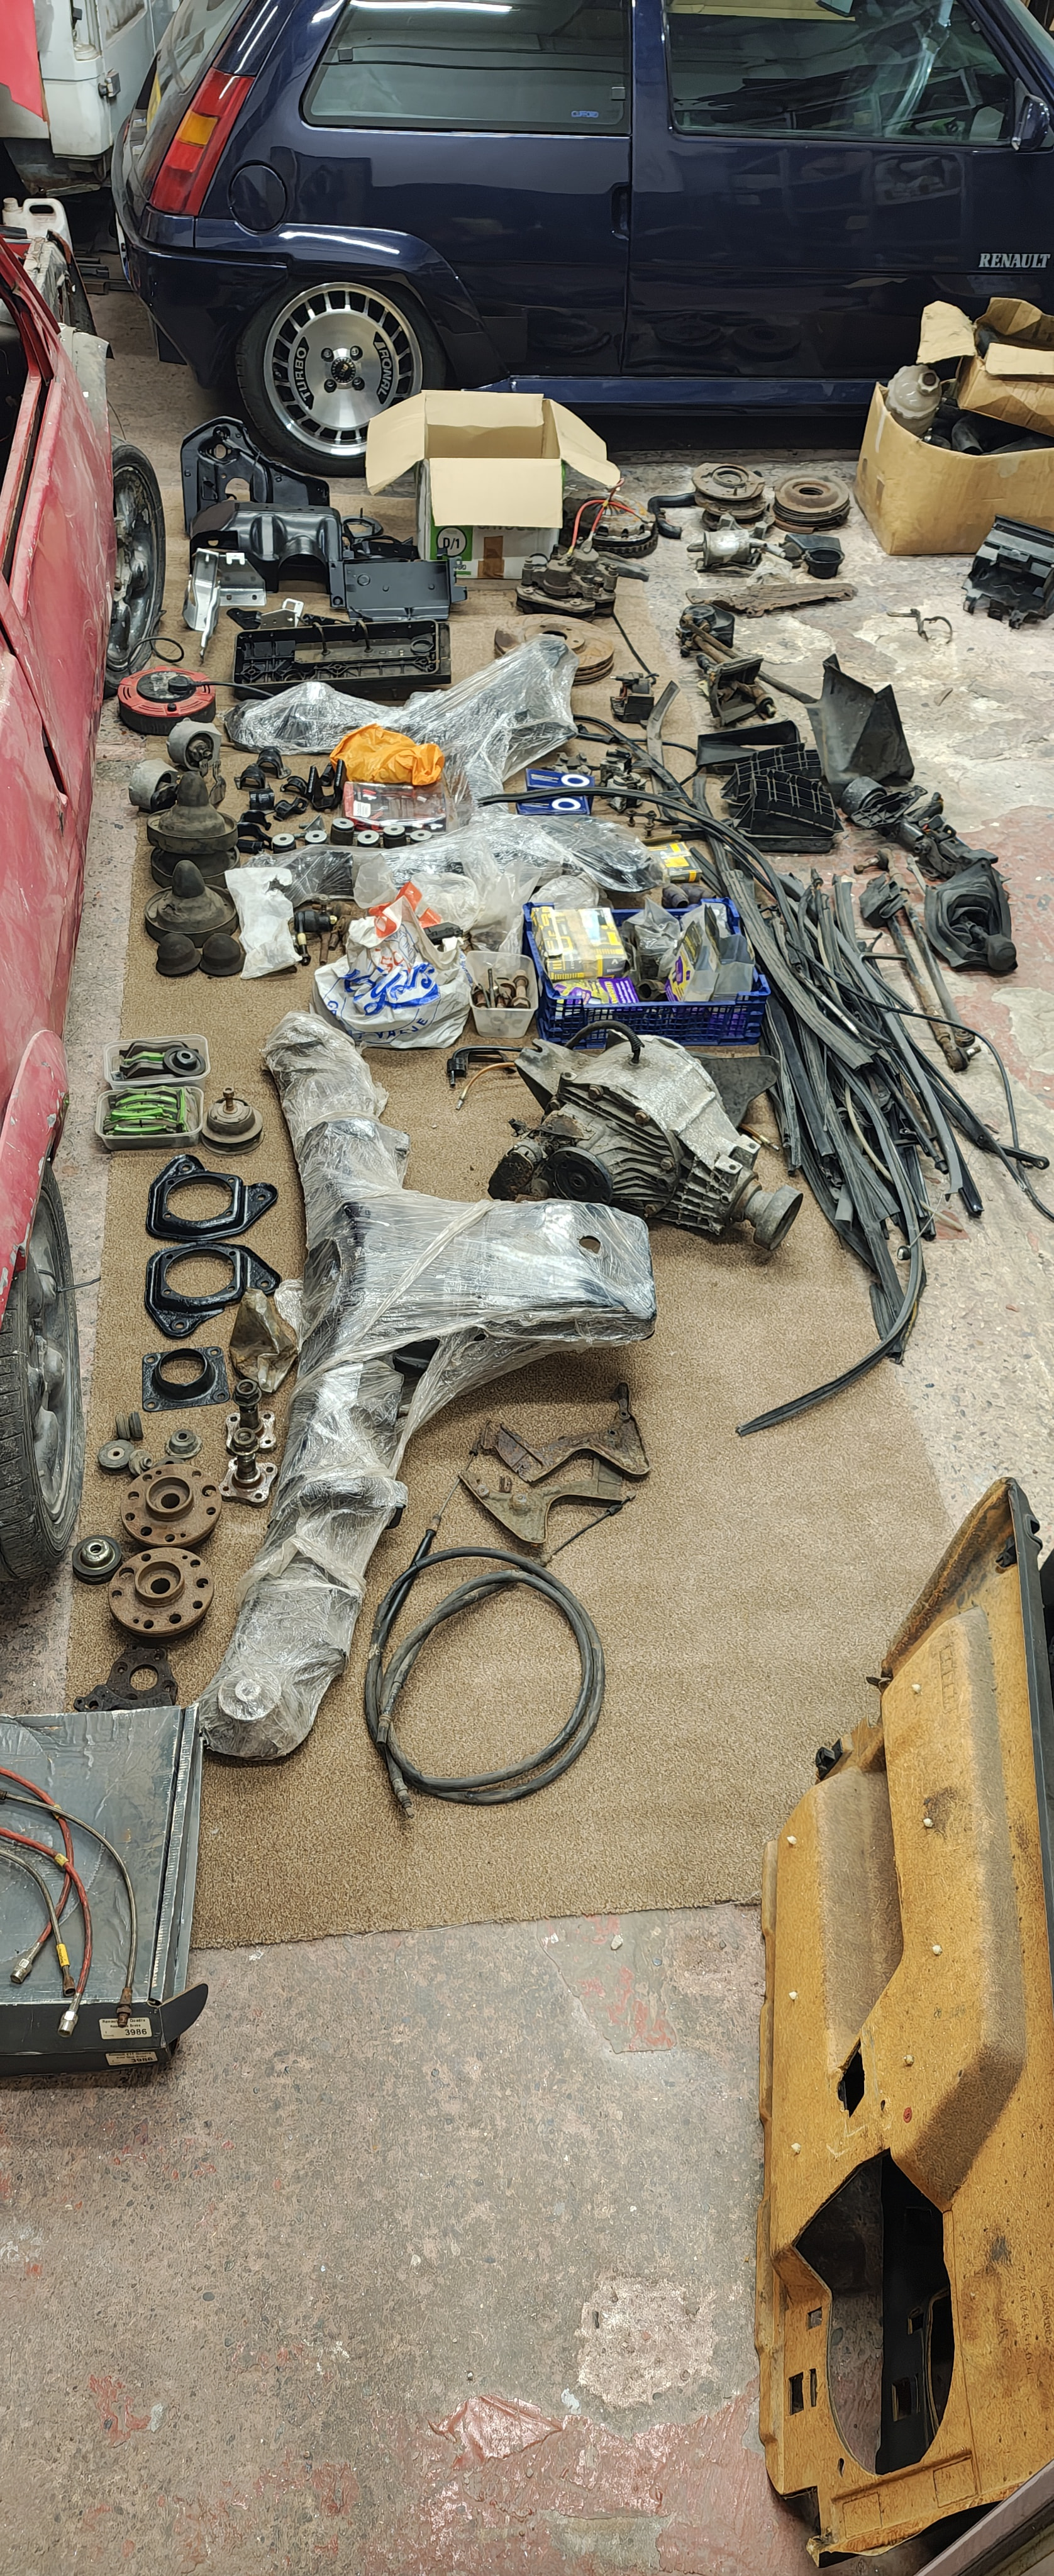
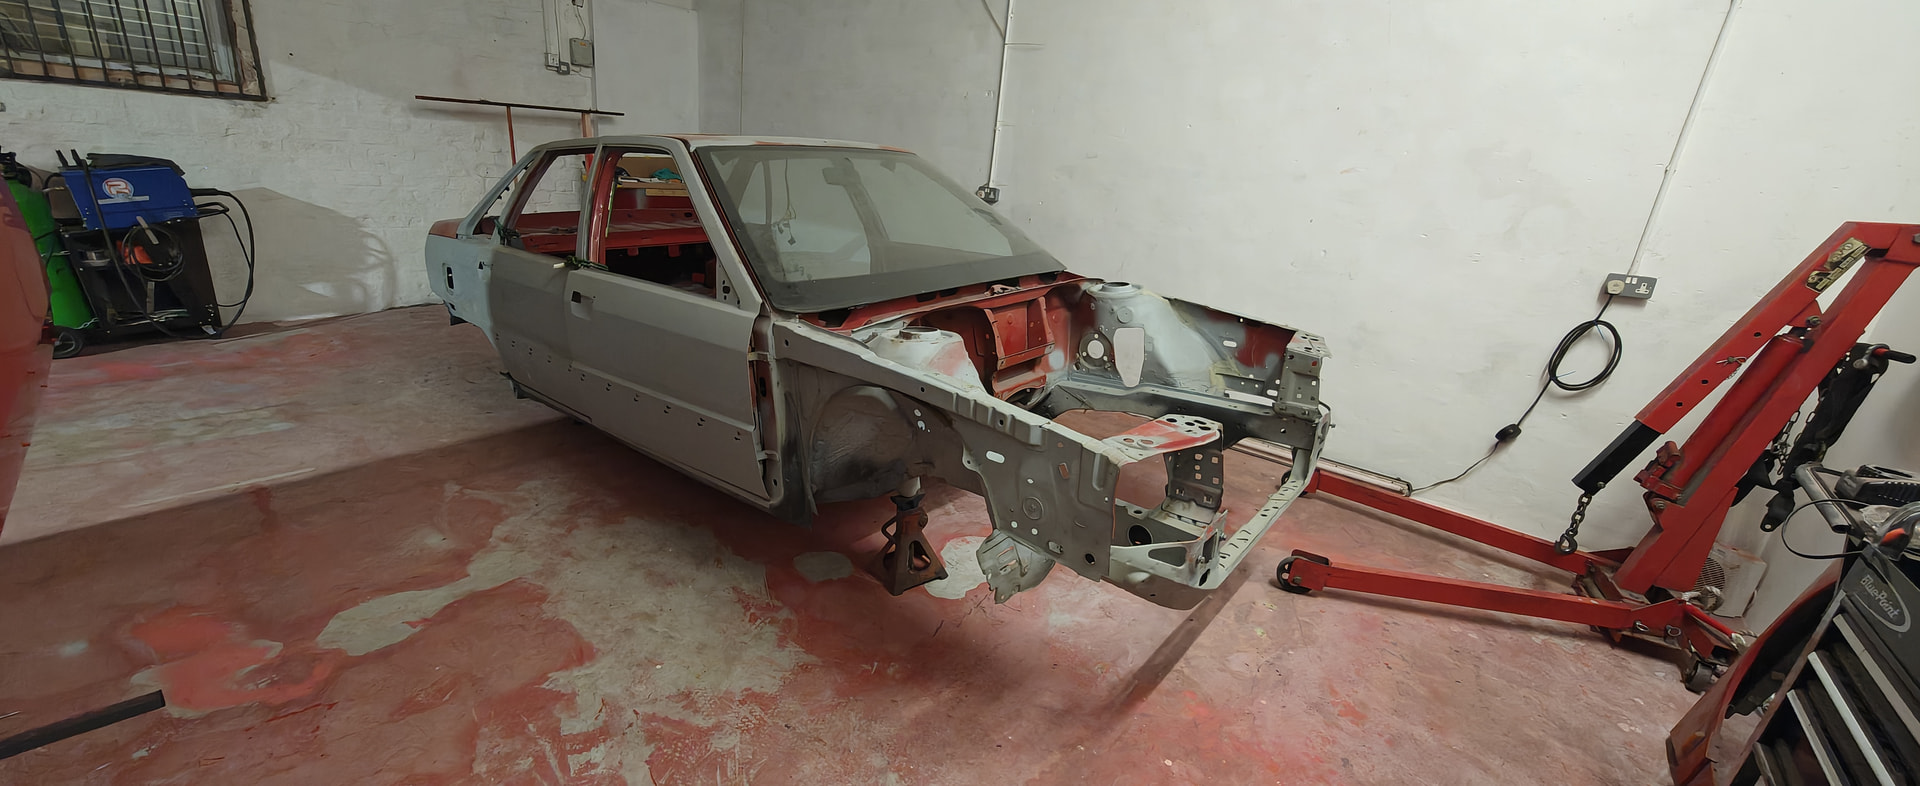
After a 7.5 year hiatus on the thread, and probably about the same on work, the car has been sat up as time & money & motivation weren’t all aligned. It’s moved from Haz’s garage to his (epic) workshop and now it’s time to do the final push. Haz moved the car into his paint booth and brought the majority of the parts together for the first time in a good few years. We then spent a weekend turning a mishmash of parts into something that is starting to look vaguely like something that belongs on a car whilst I spent the time cleaning up the 35 year old interior plastics - all the time discussing what bits we thought should go where.
Hopefully this will be the start of the final sets of updates as the car comes together.

4 Likes
So what is the best thing to do when you have one quadra in a million pieces that used to be full of rust and you want it back together? Absolutely right - you buy another rotten quadra without an engine…
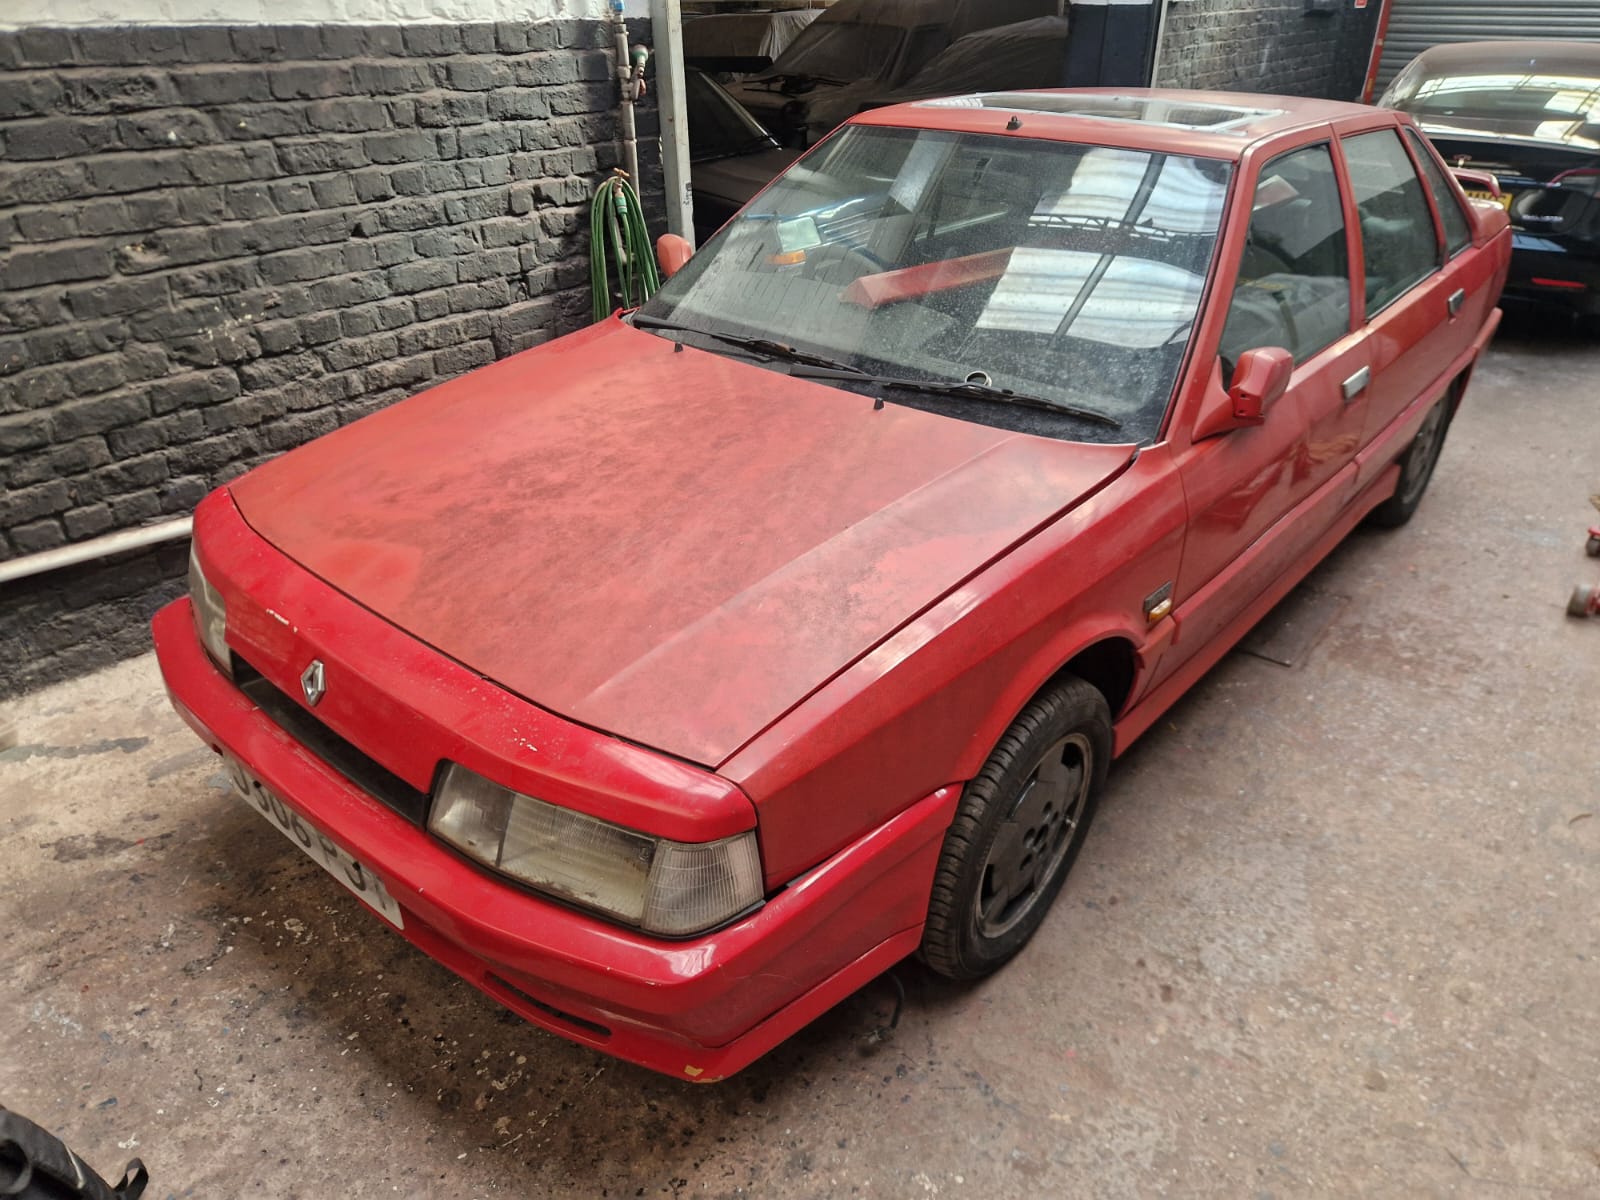
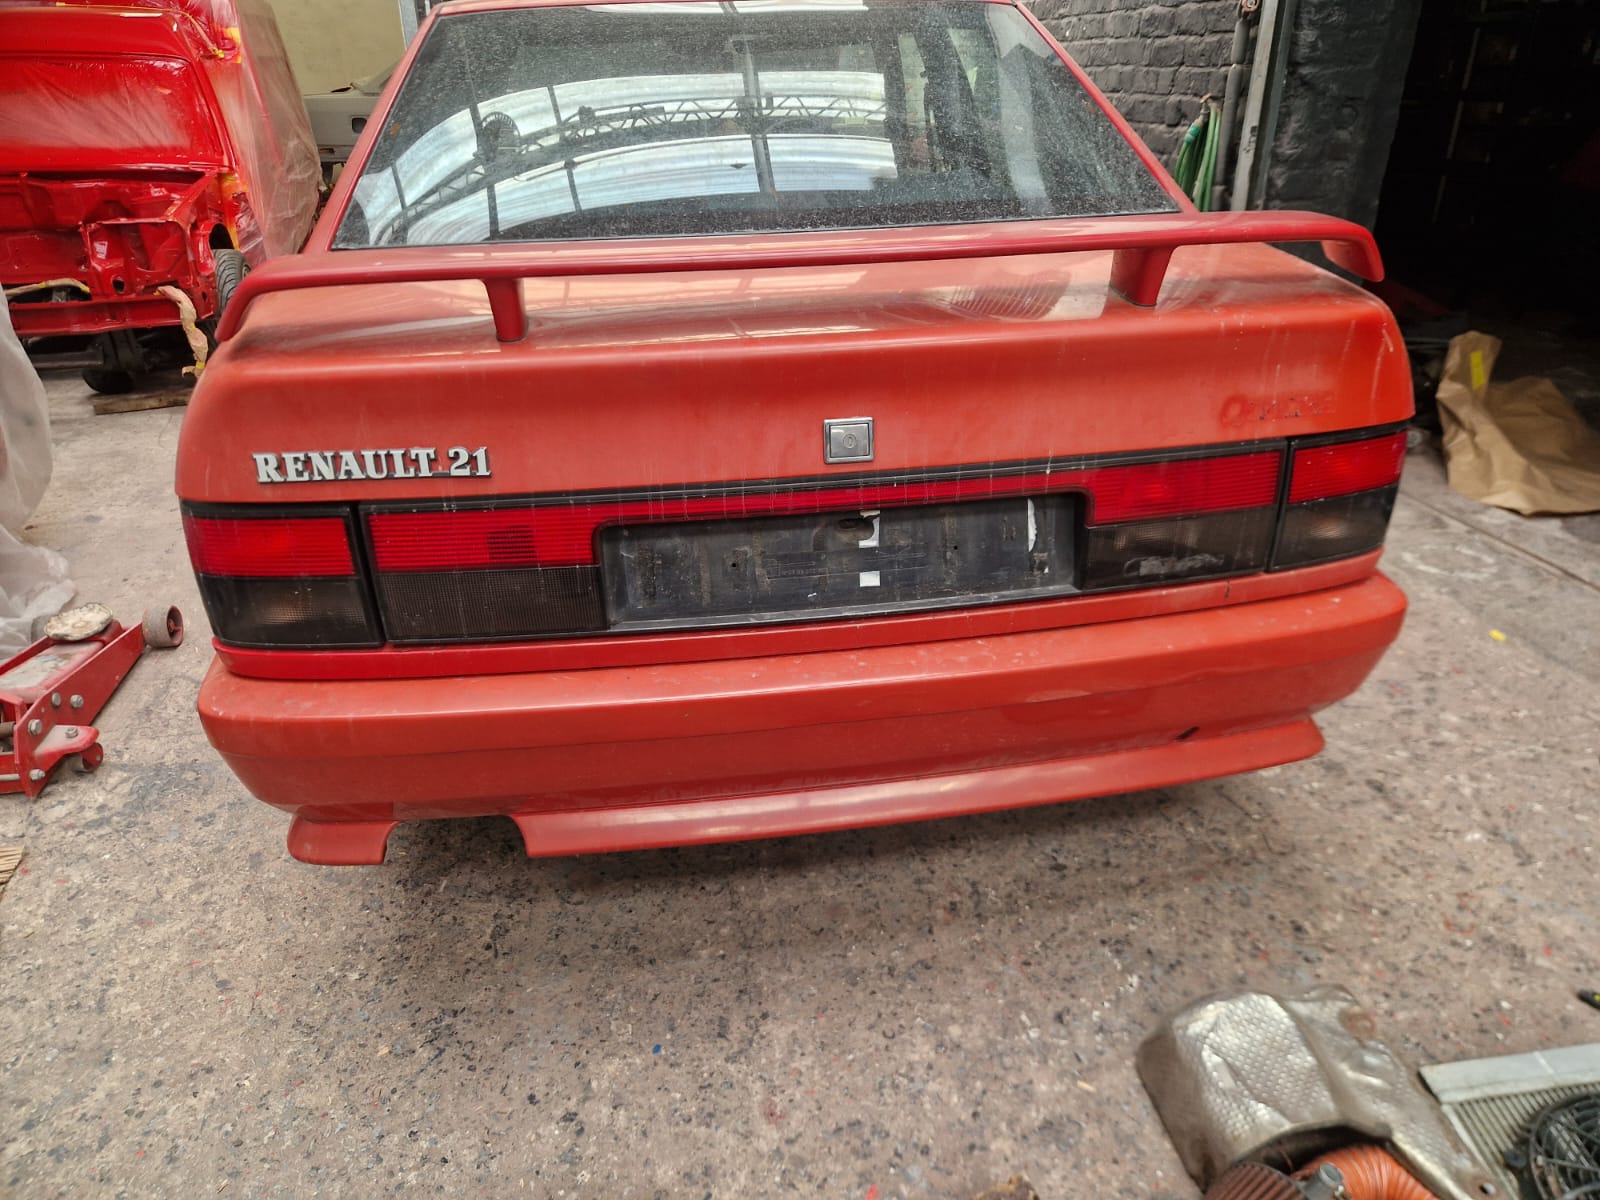
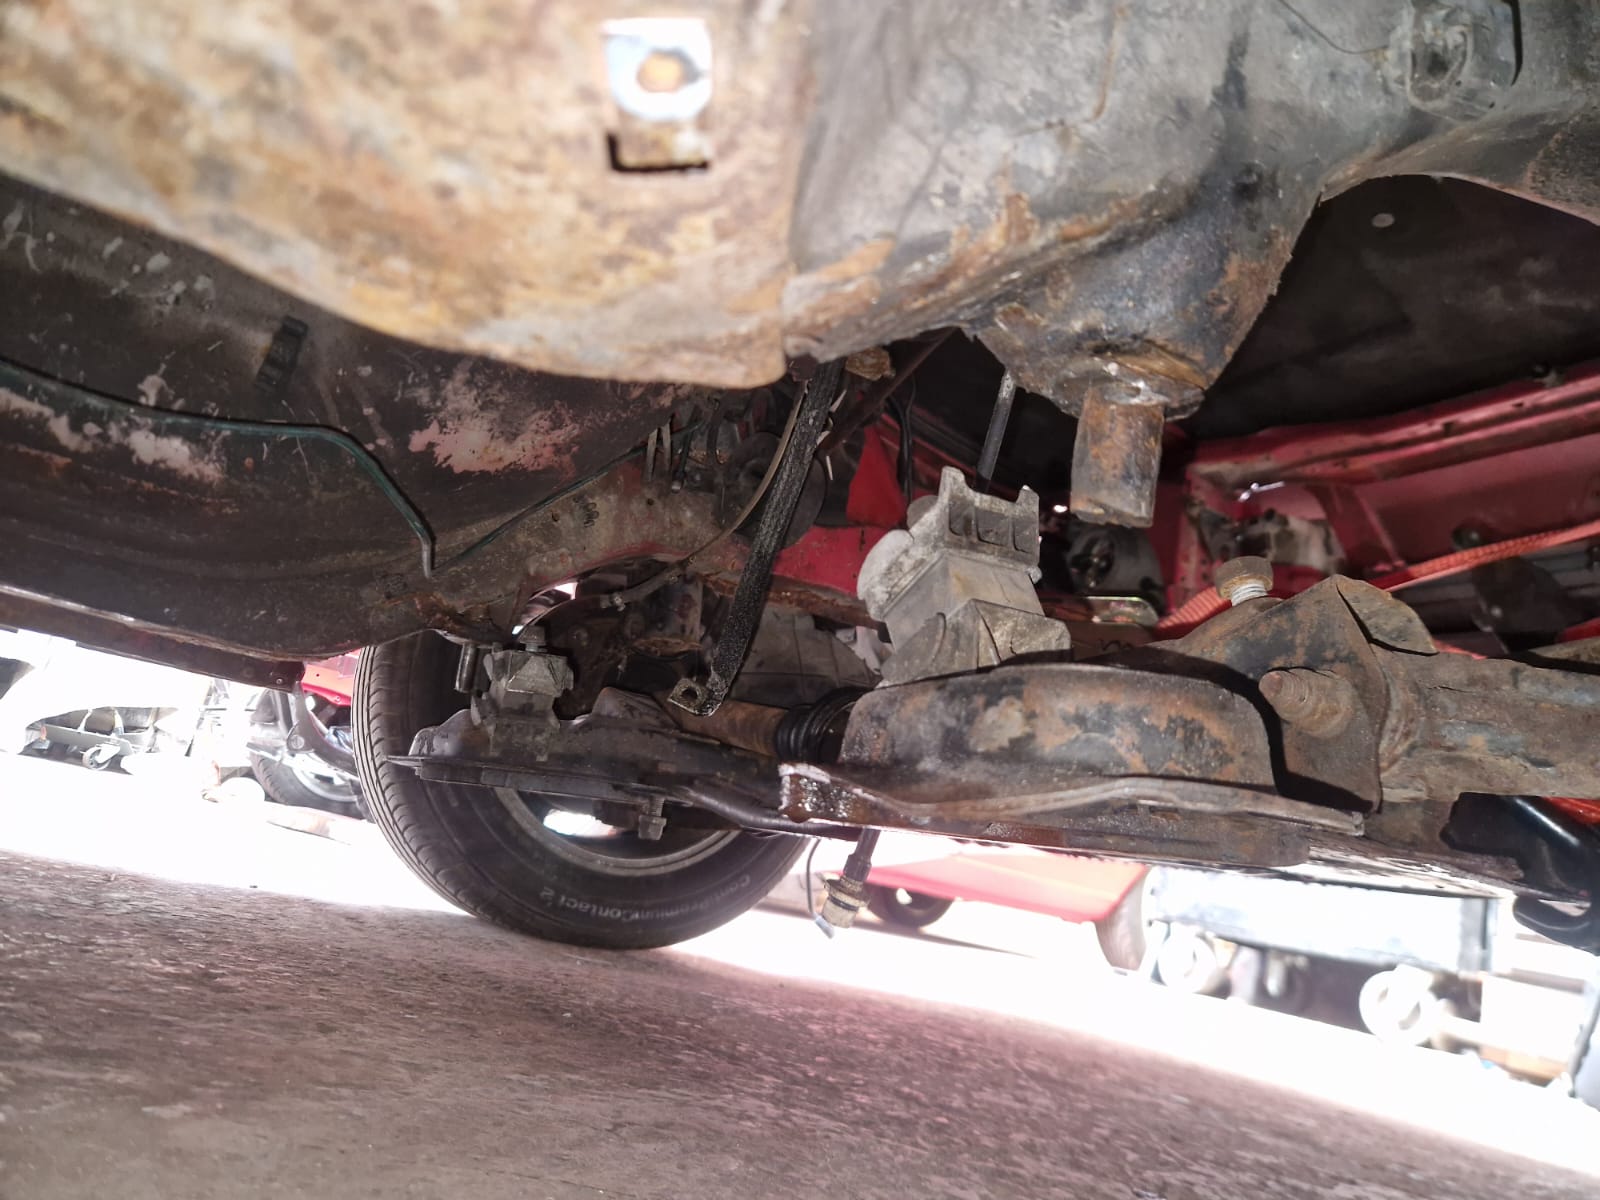
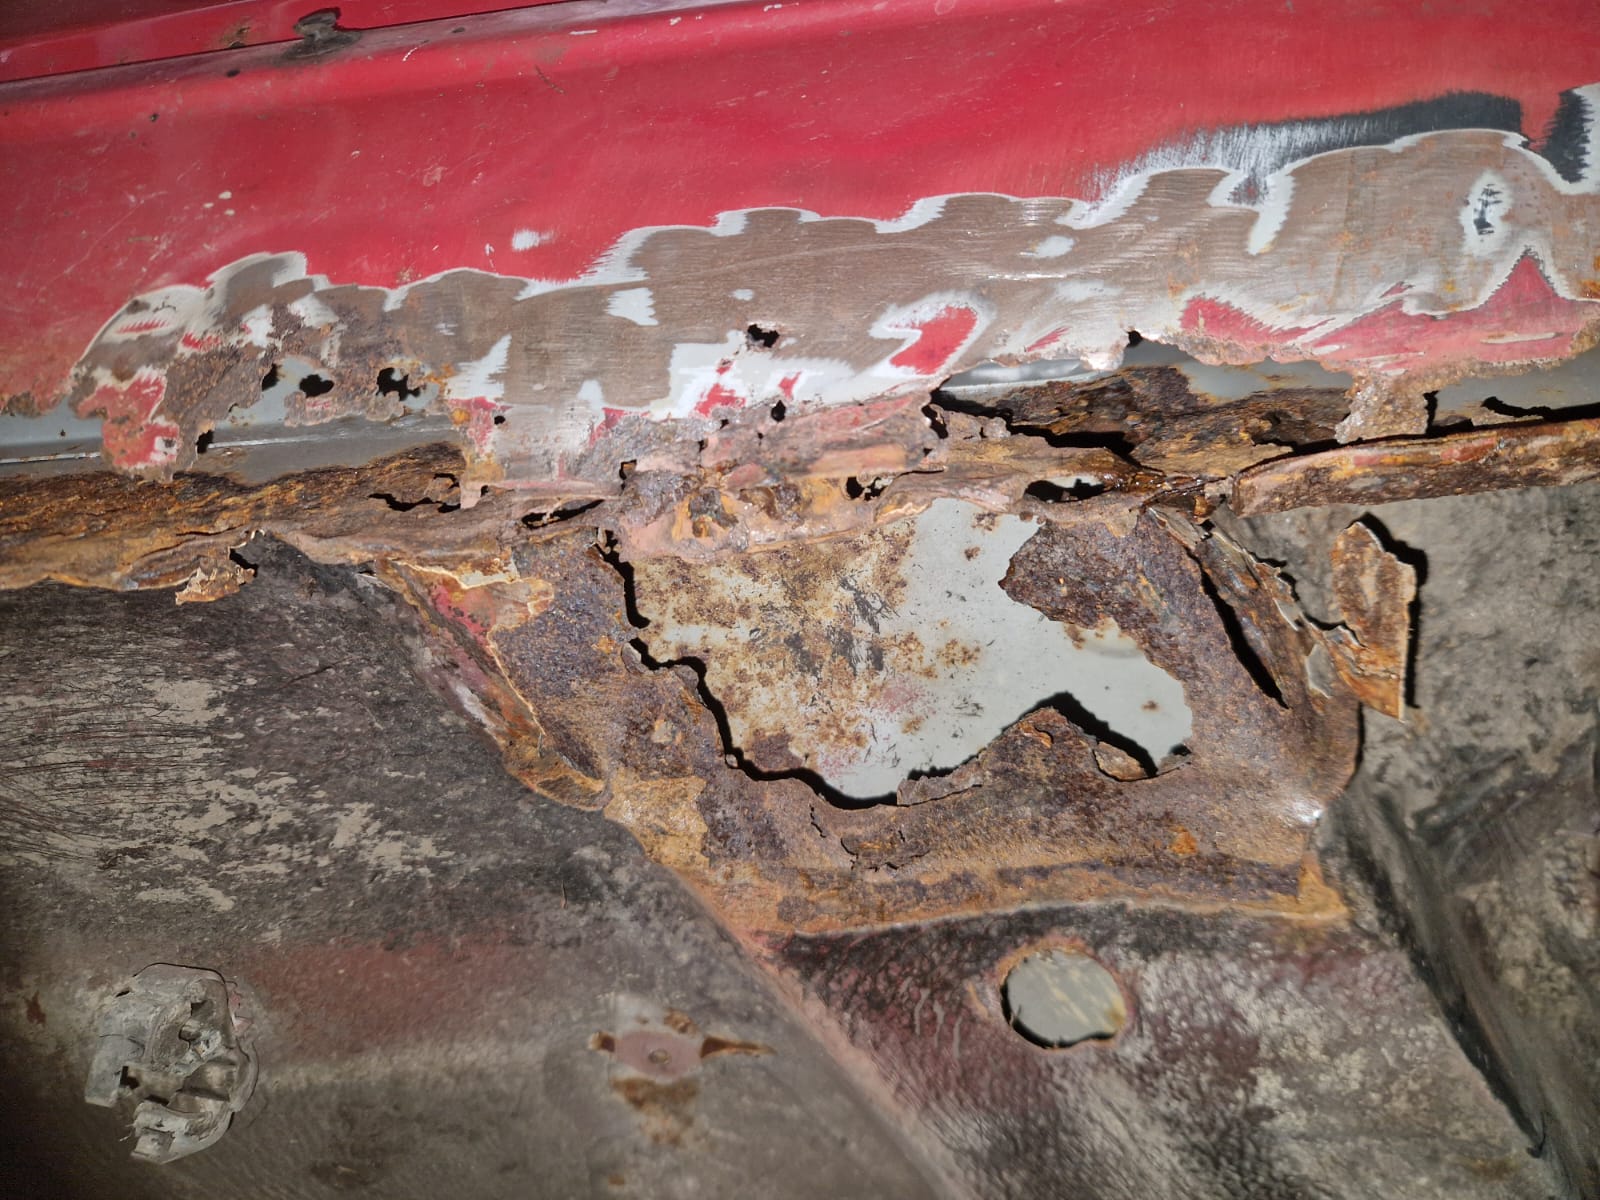
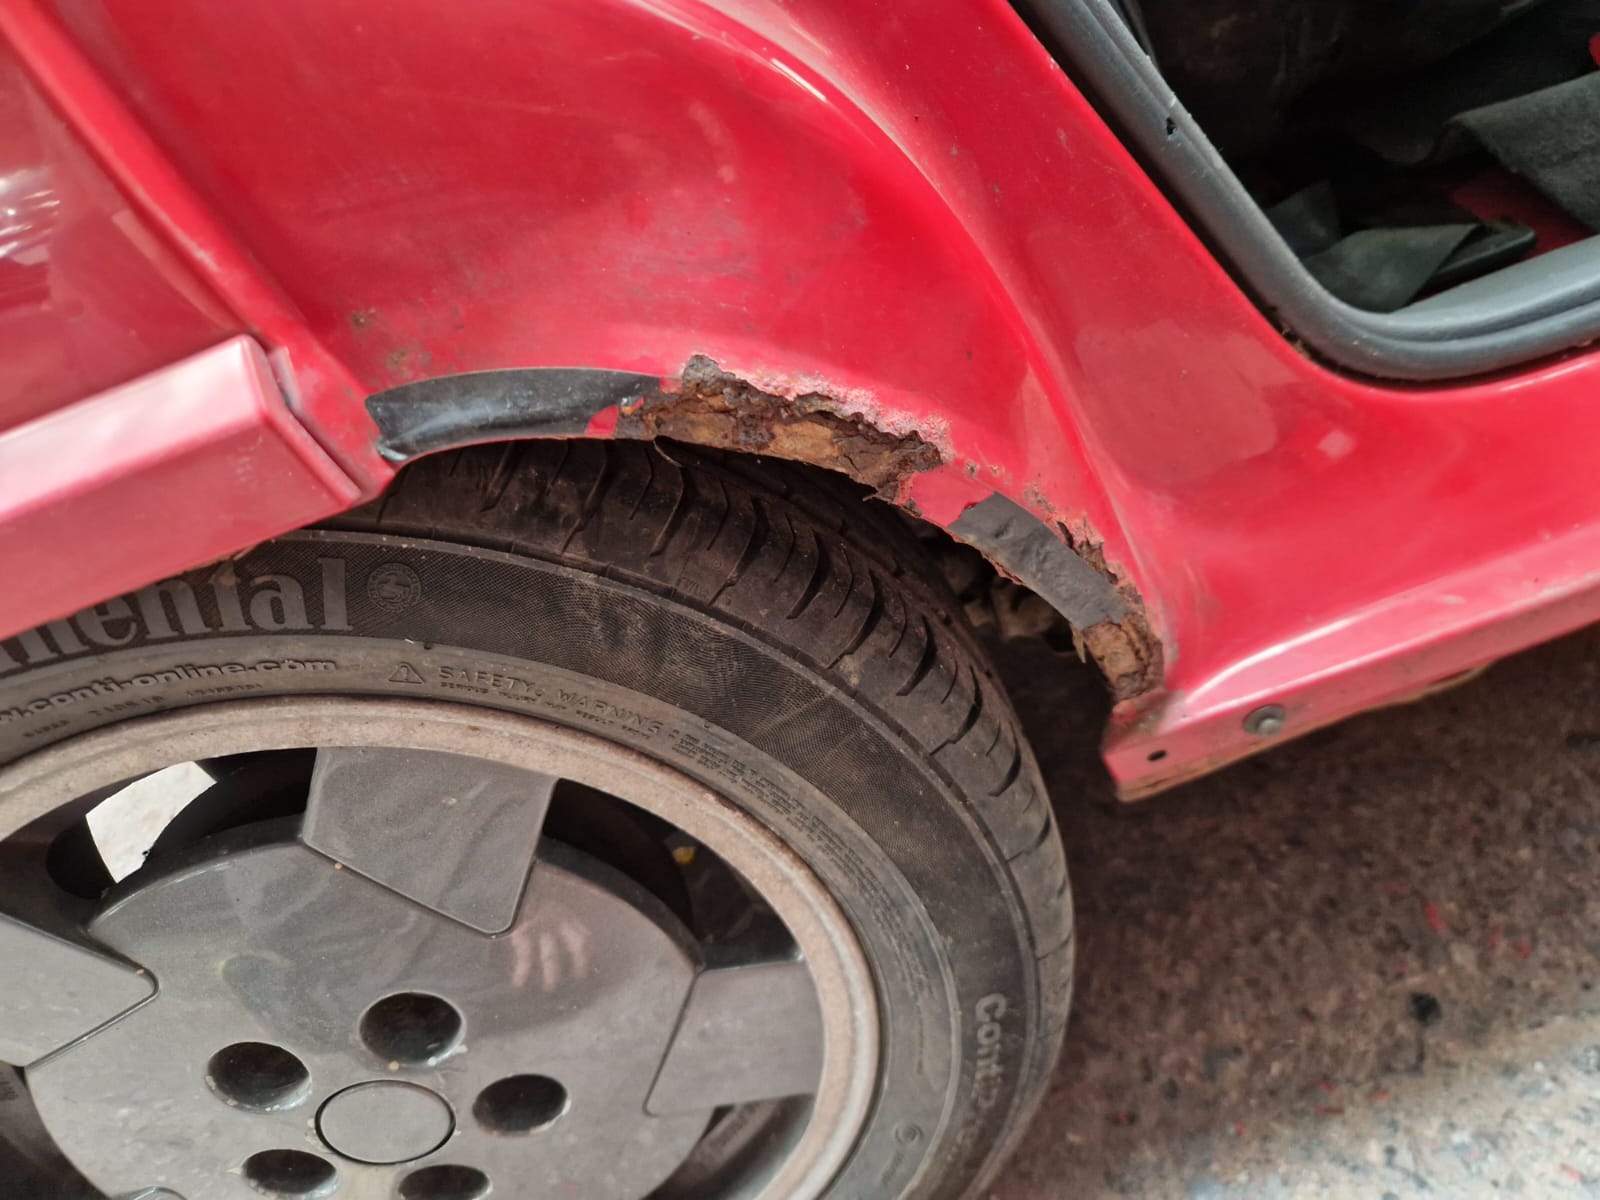
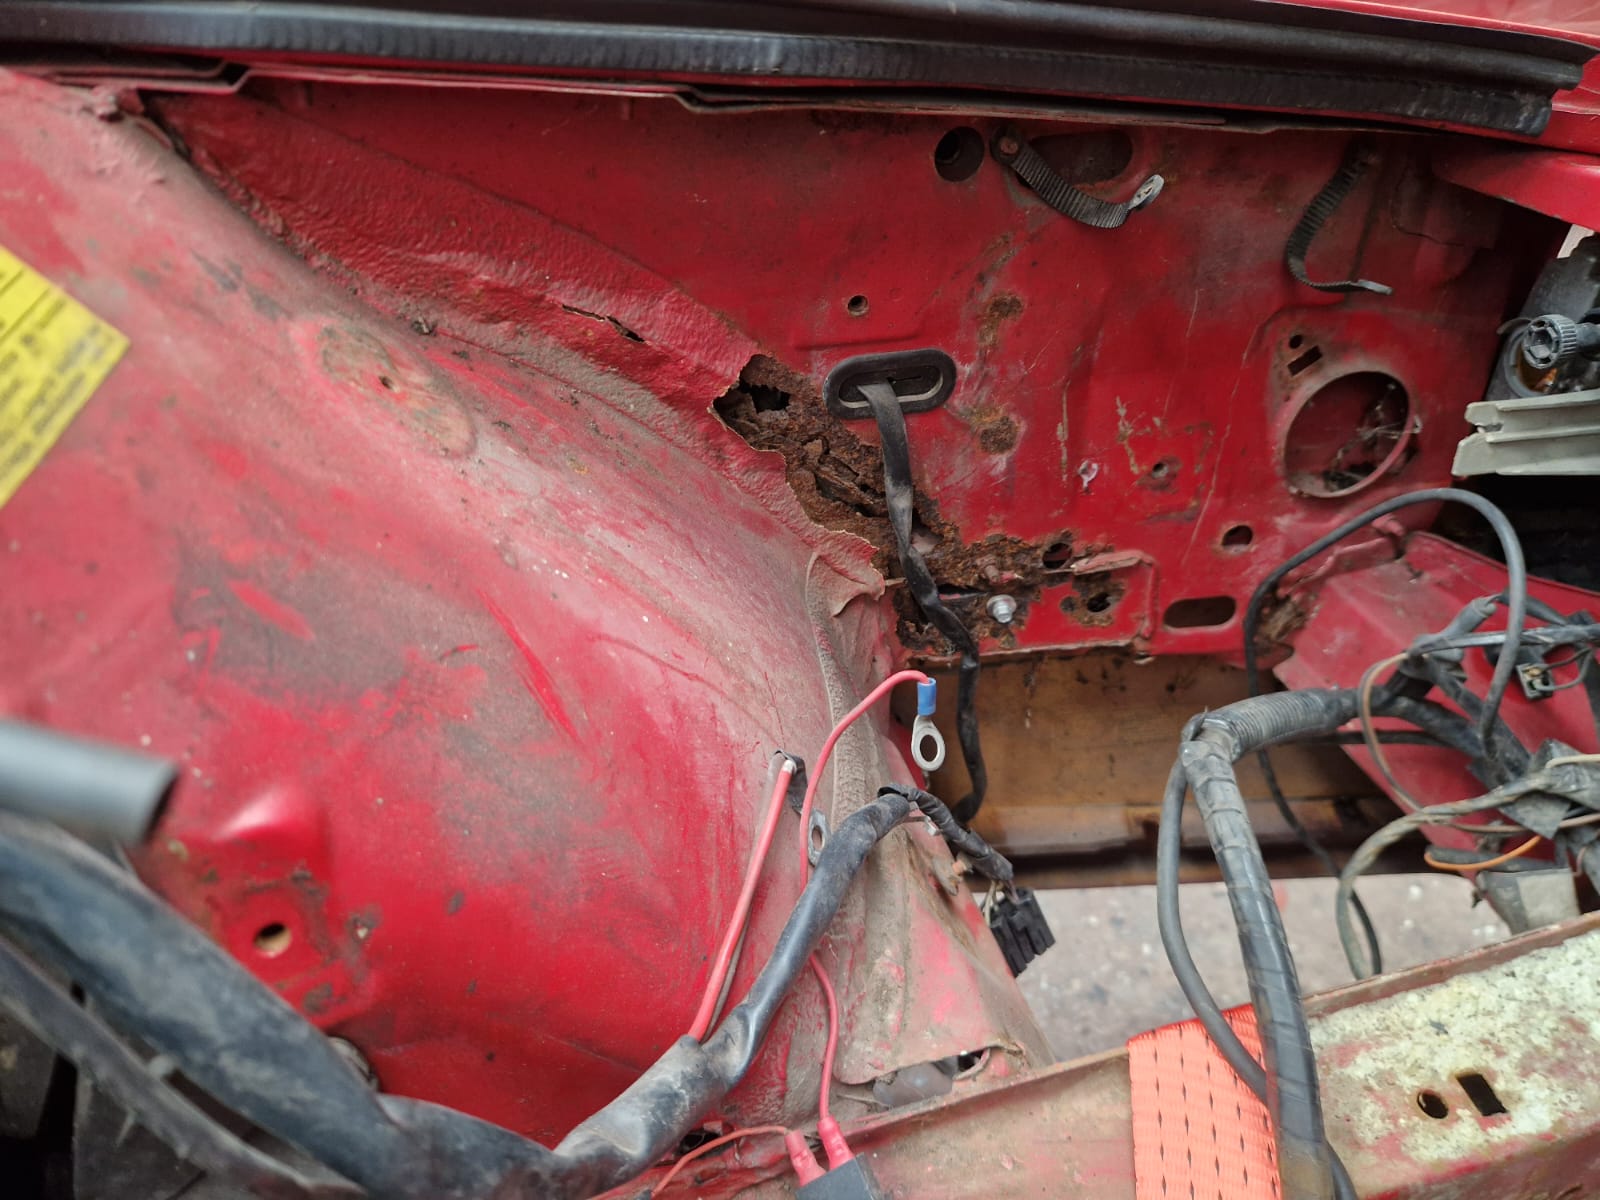
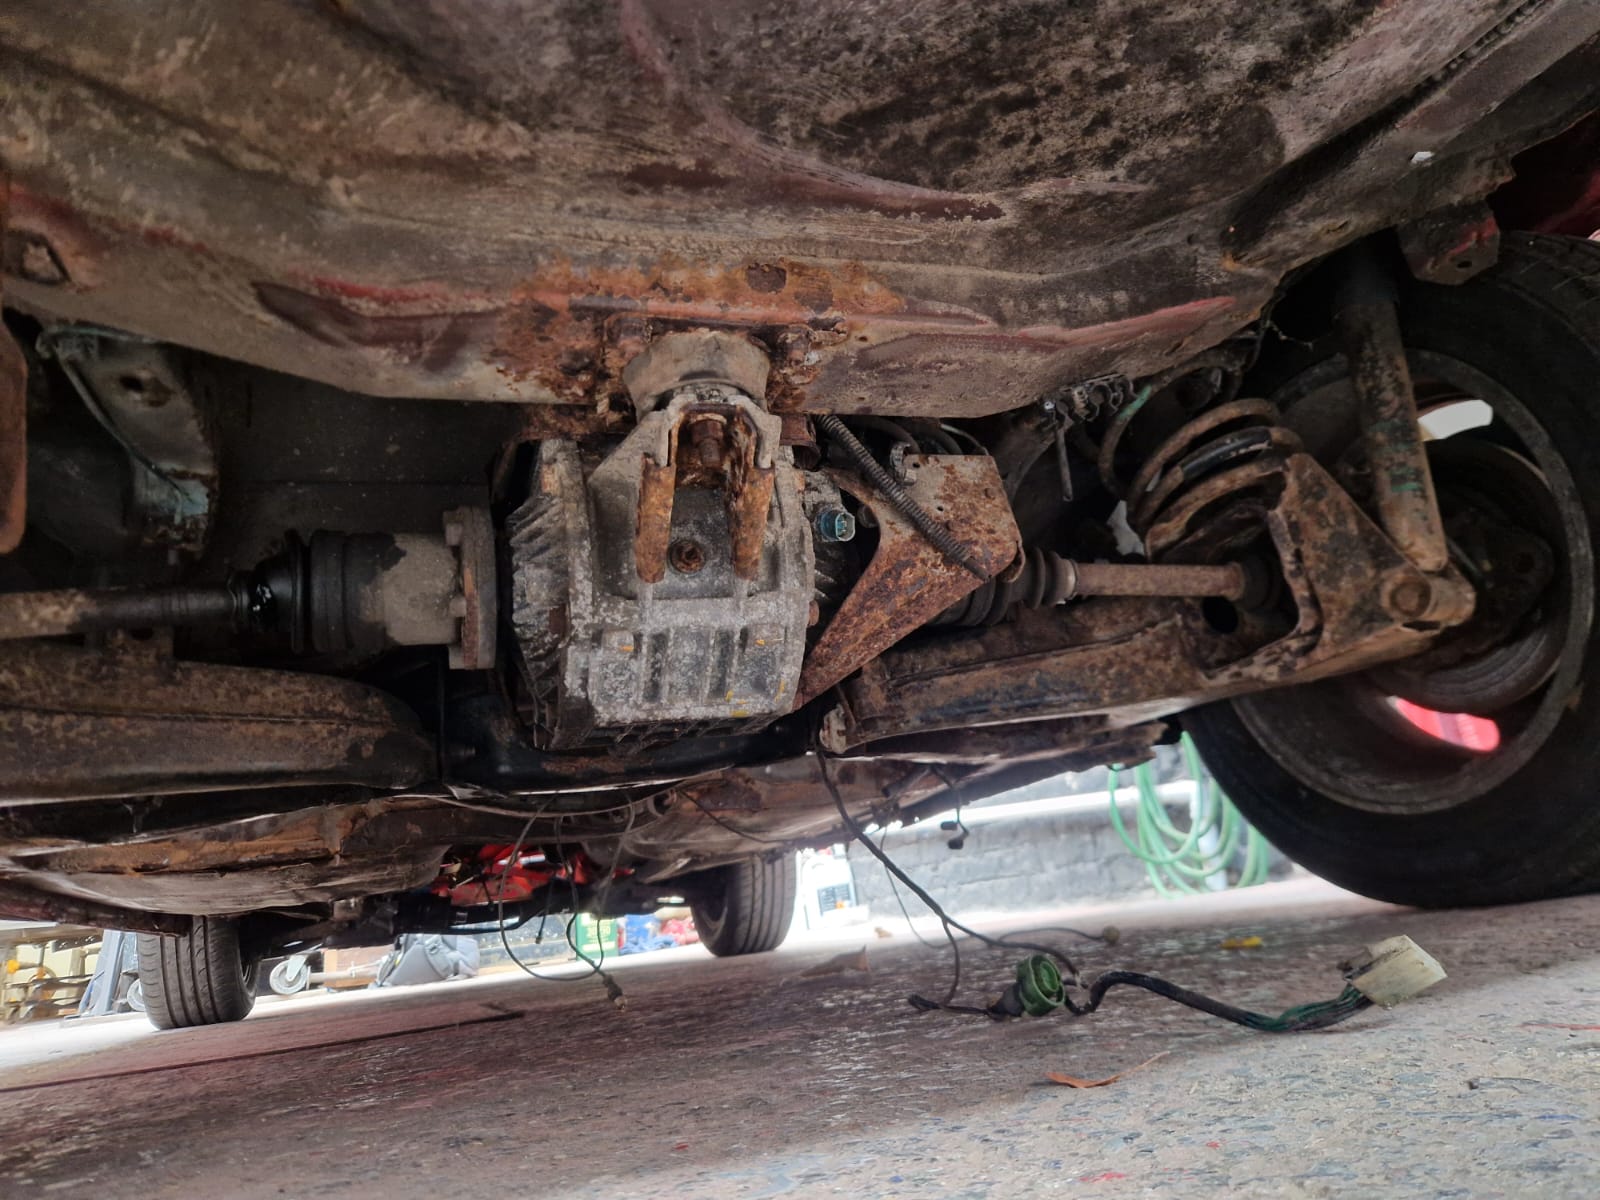
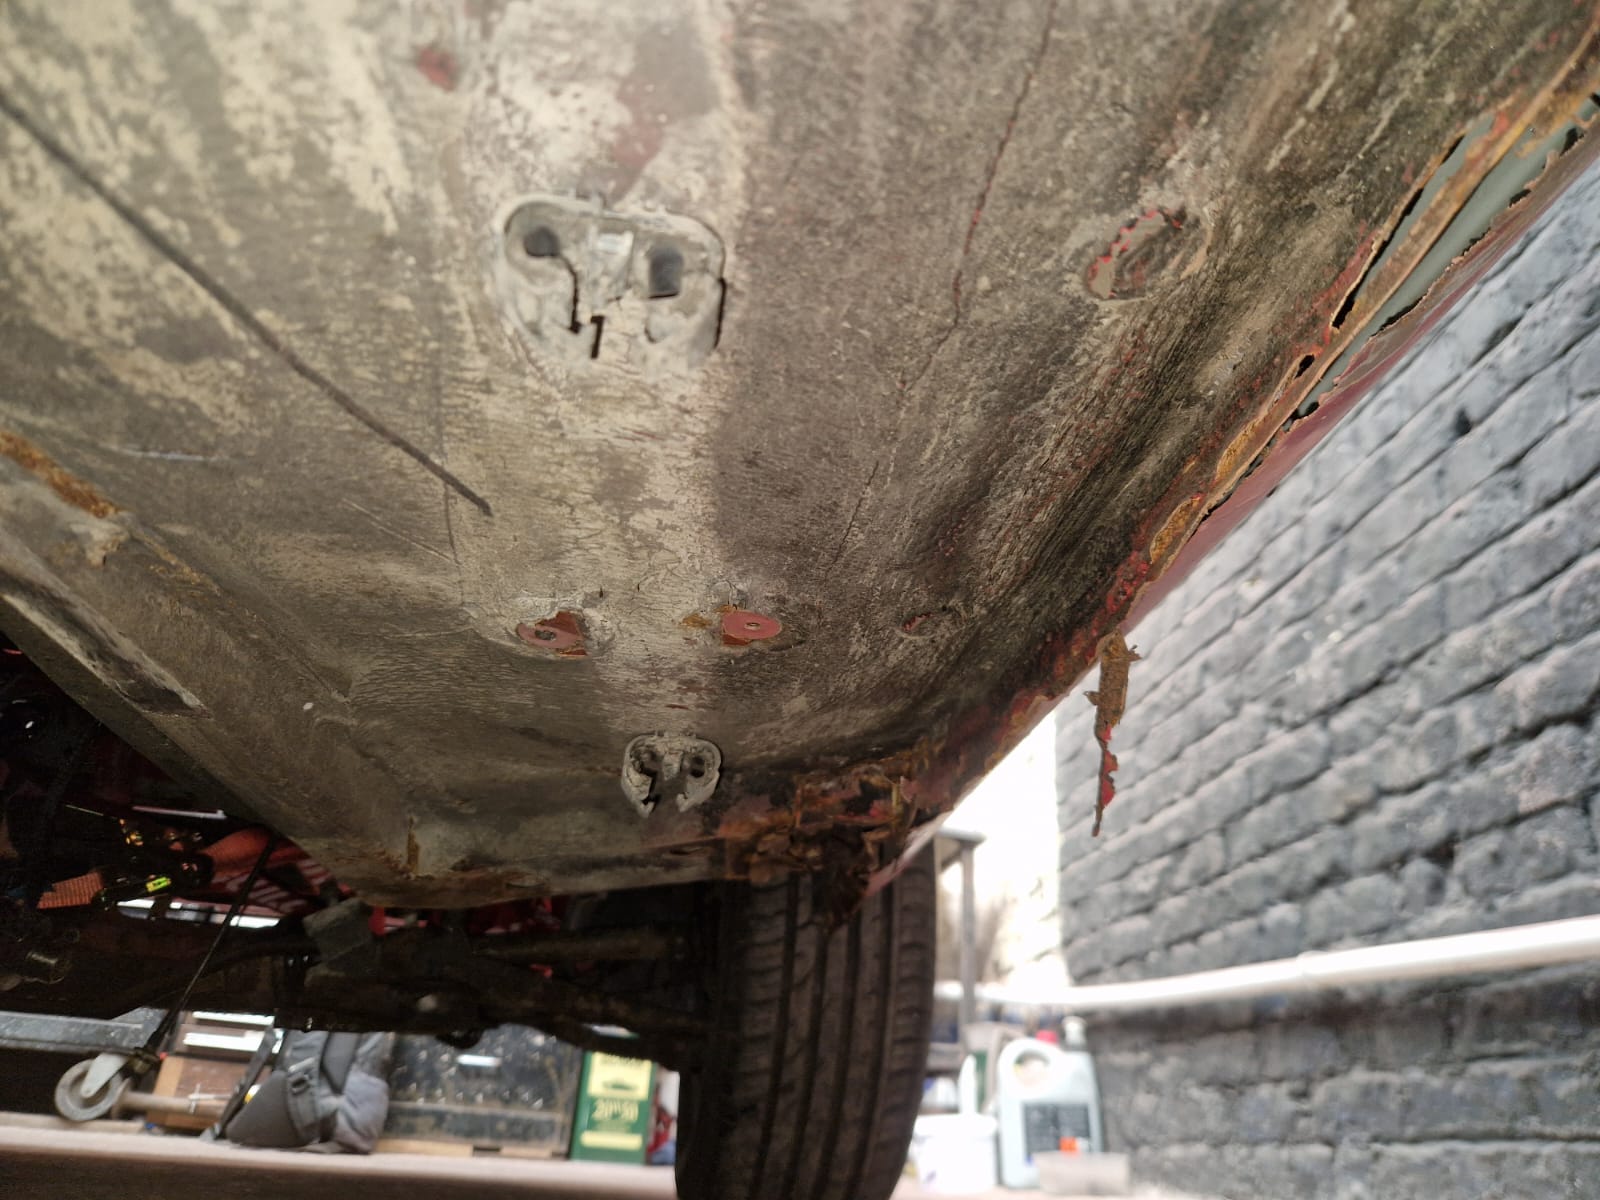
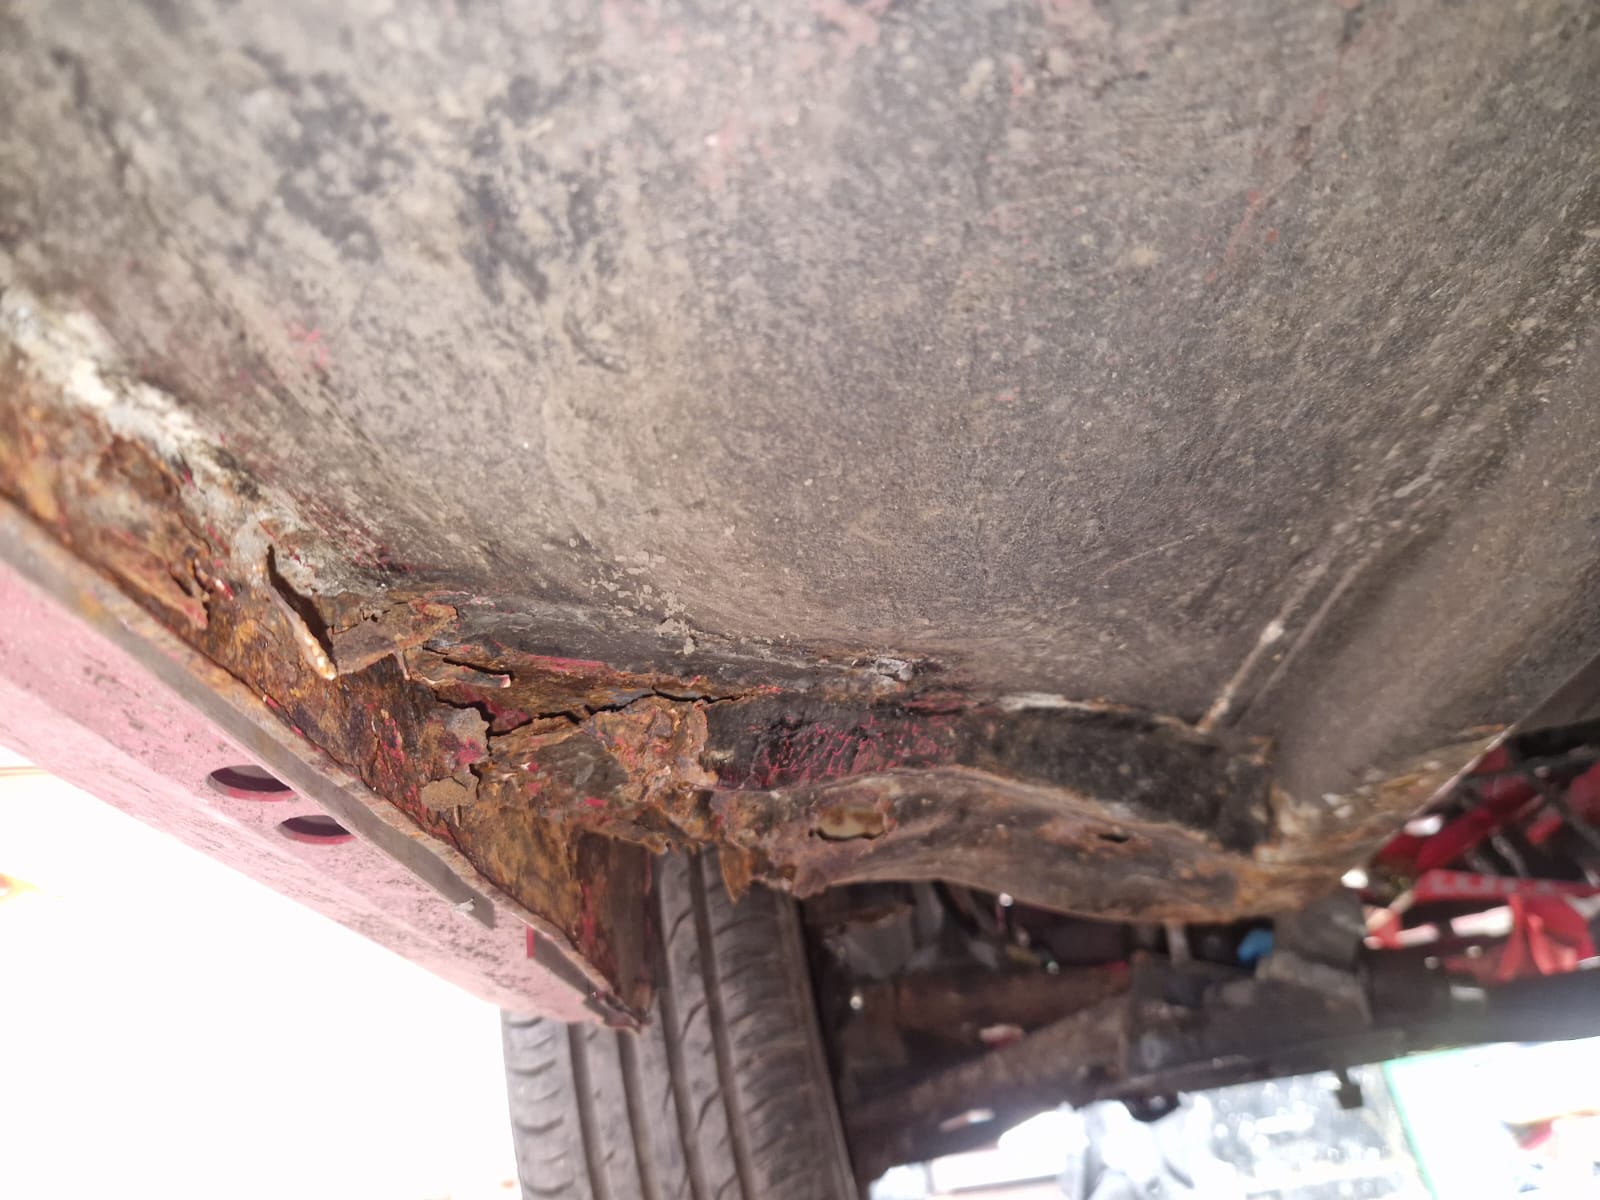
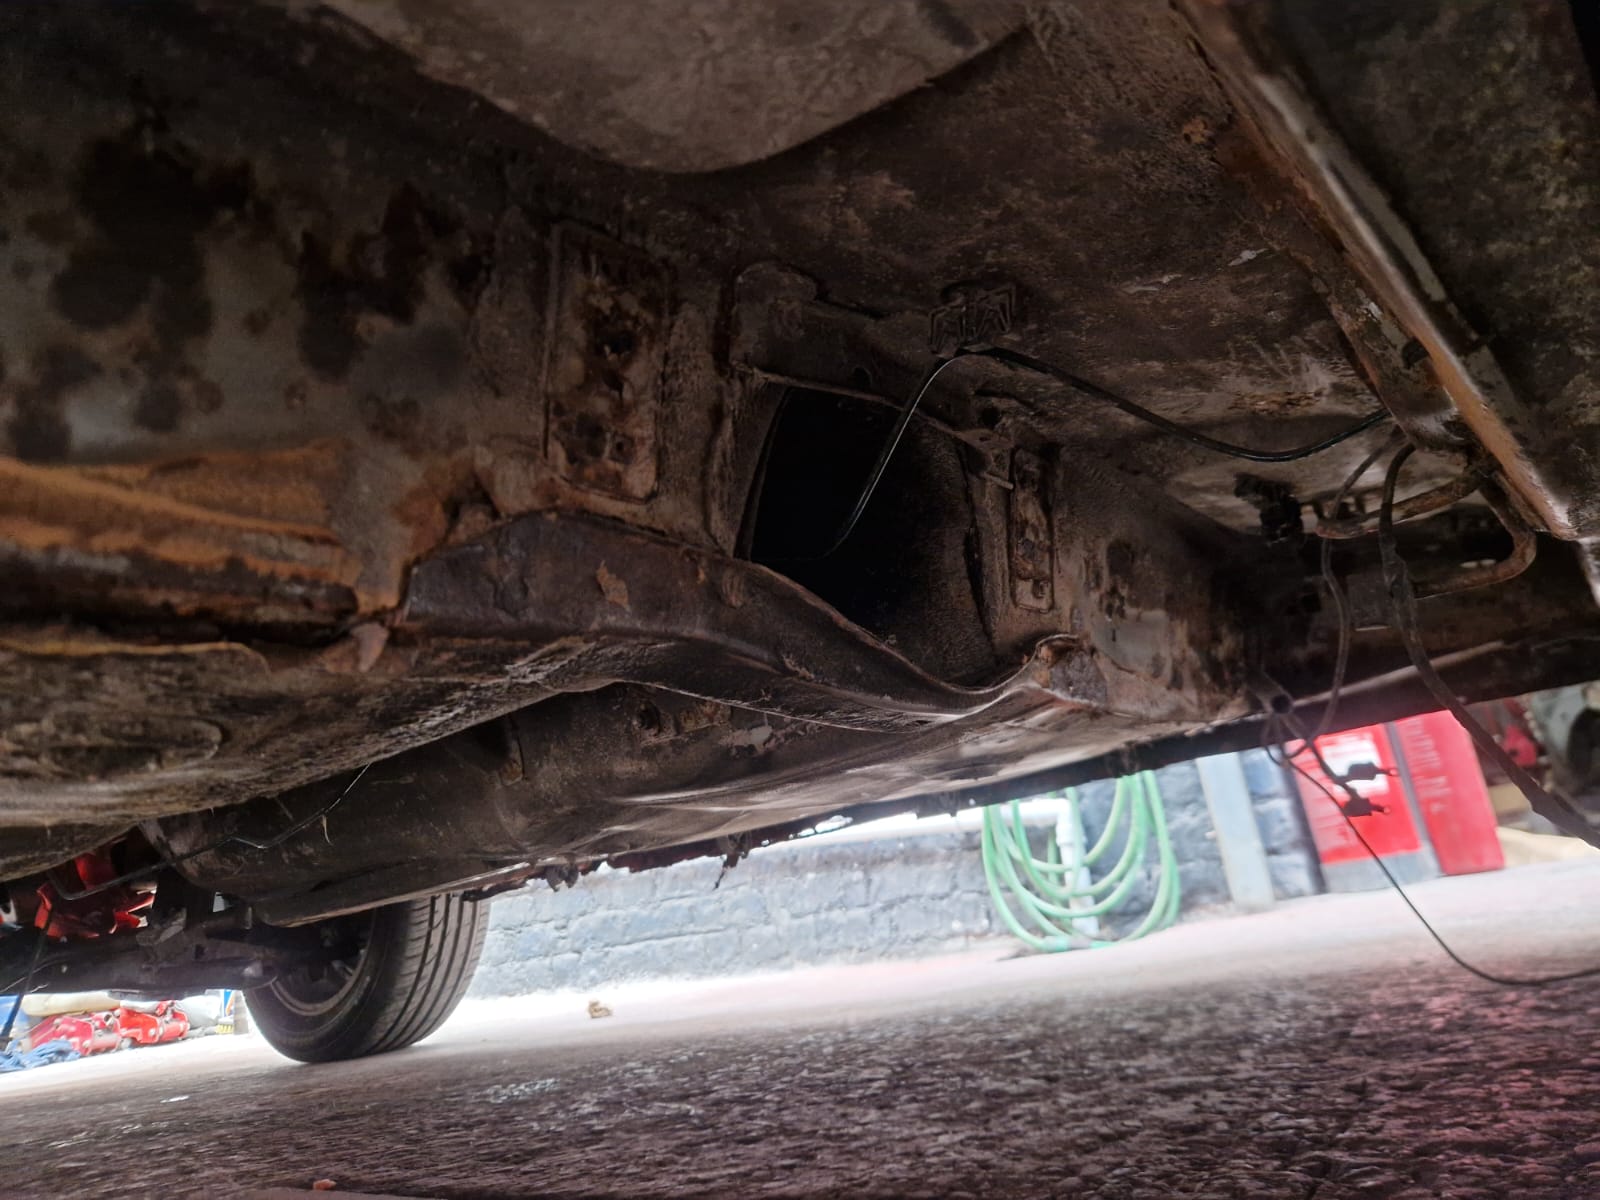
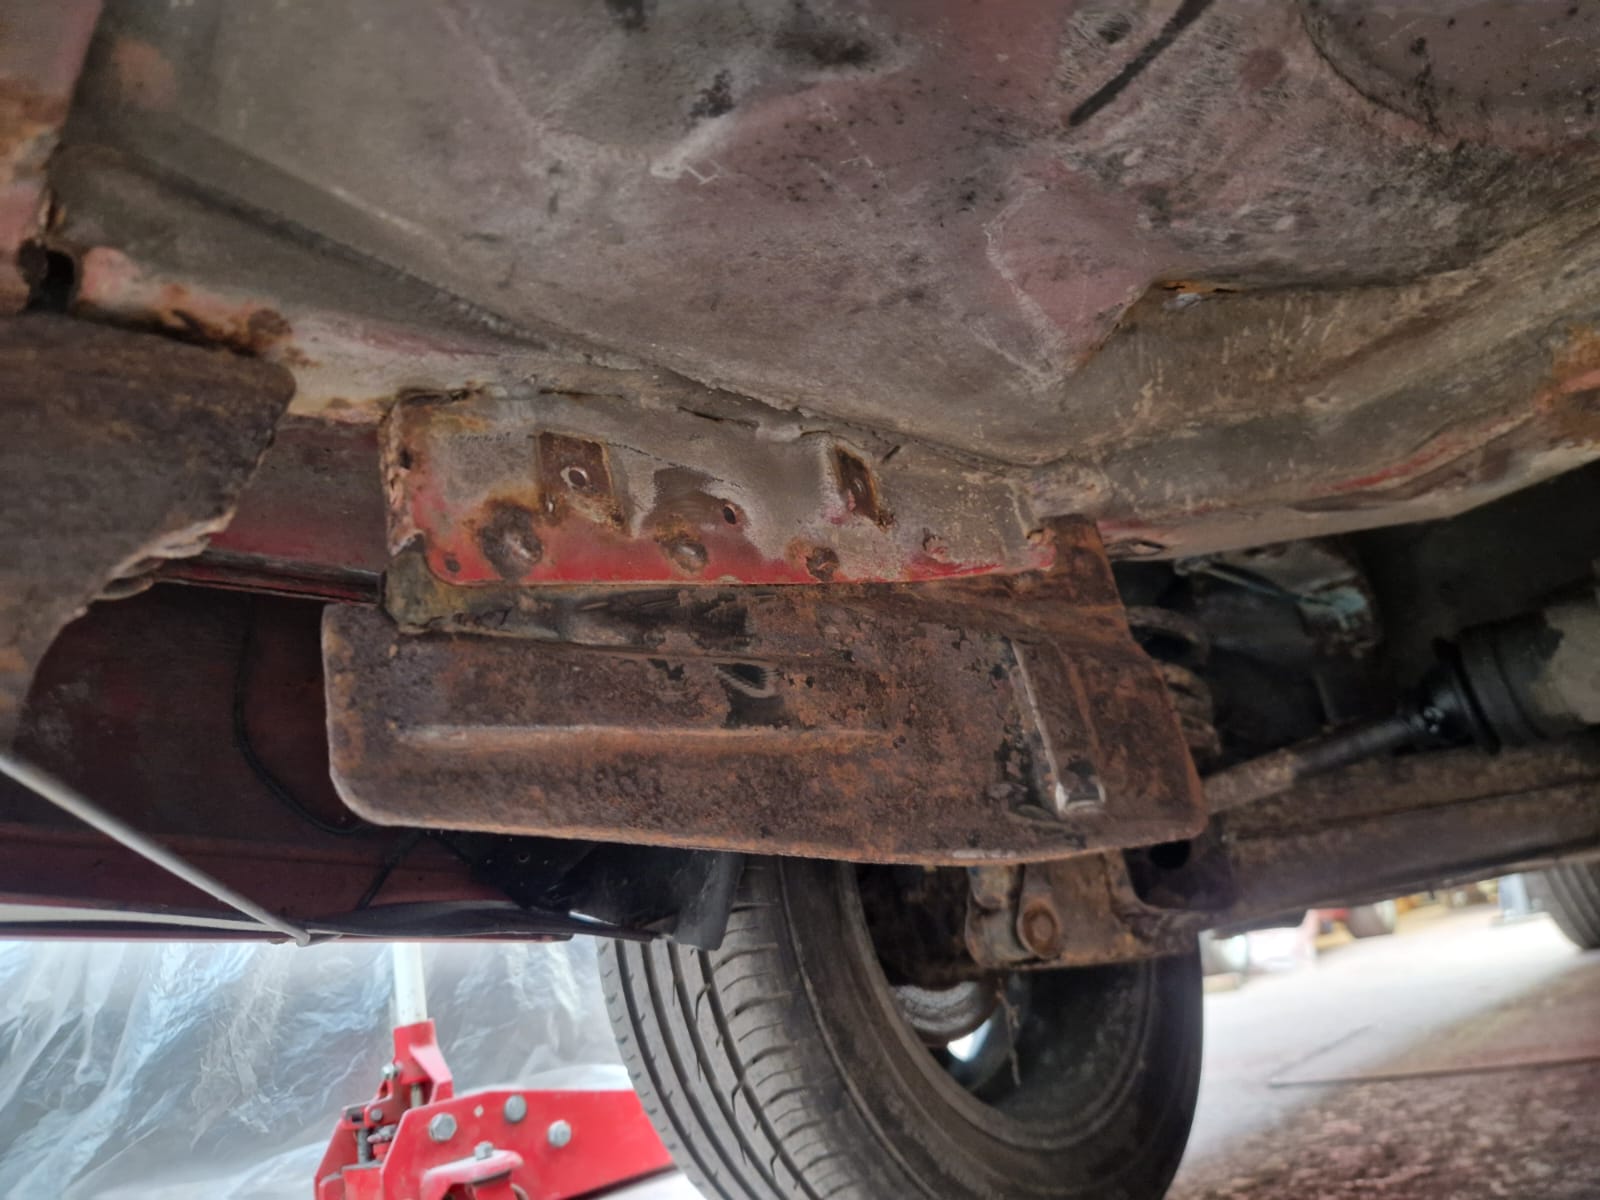
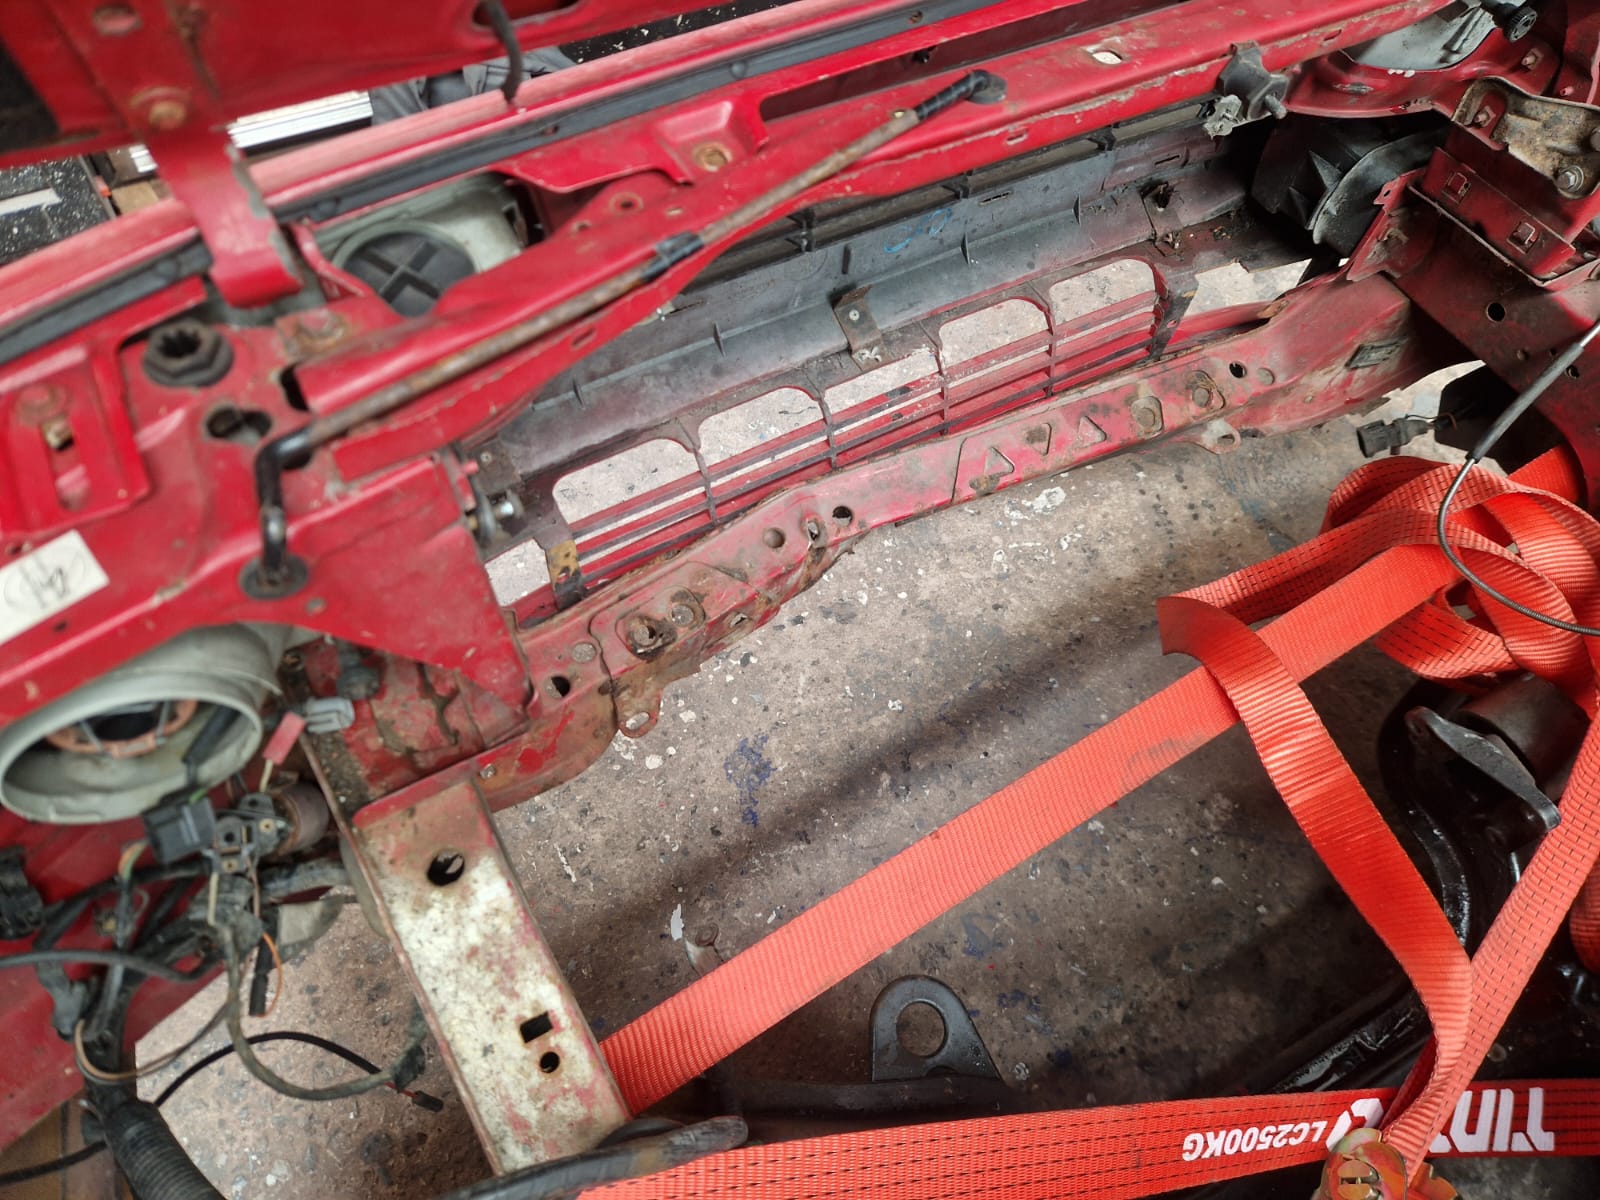
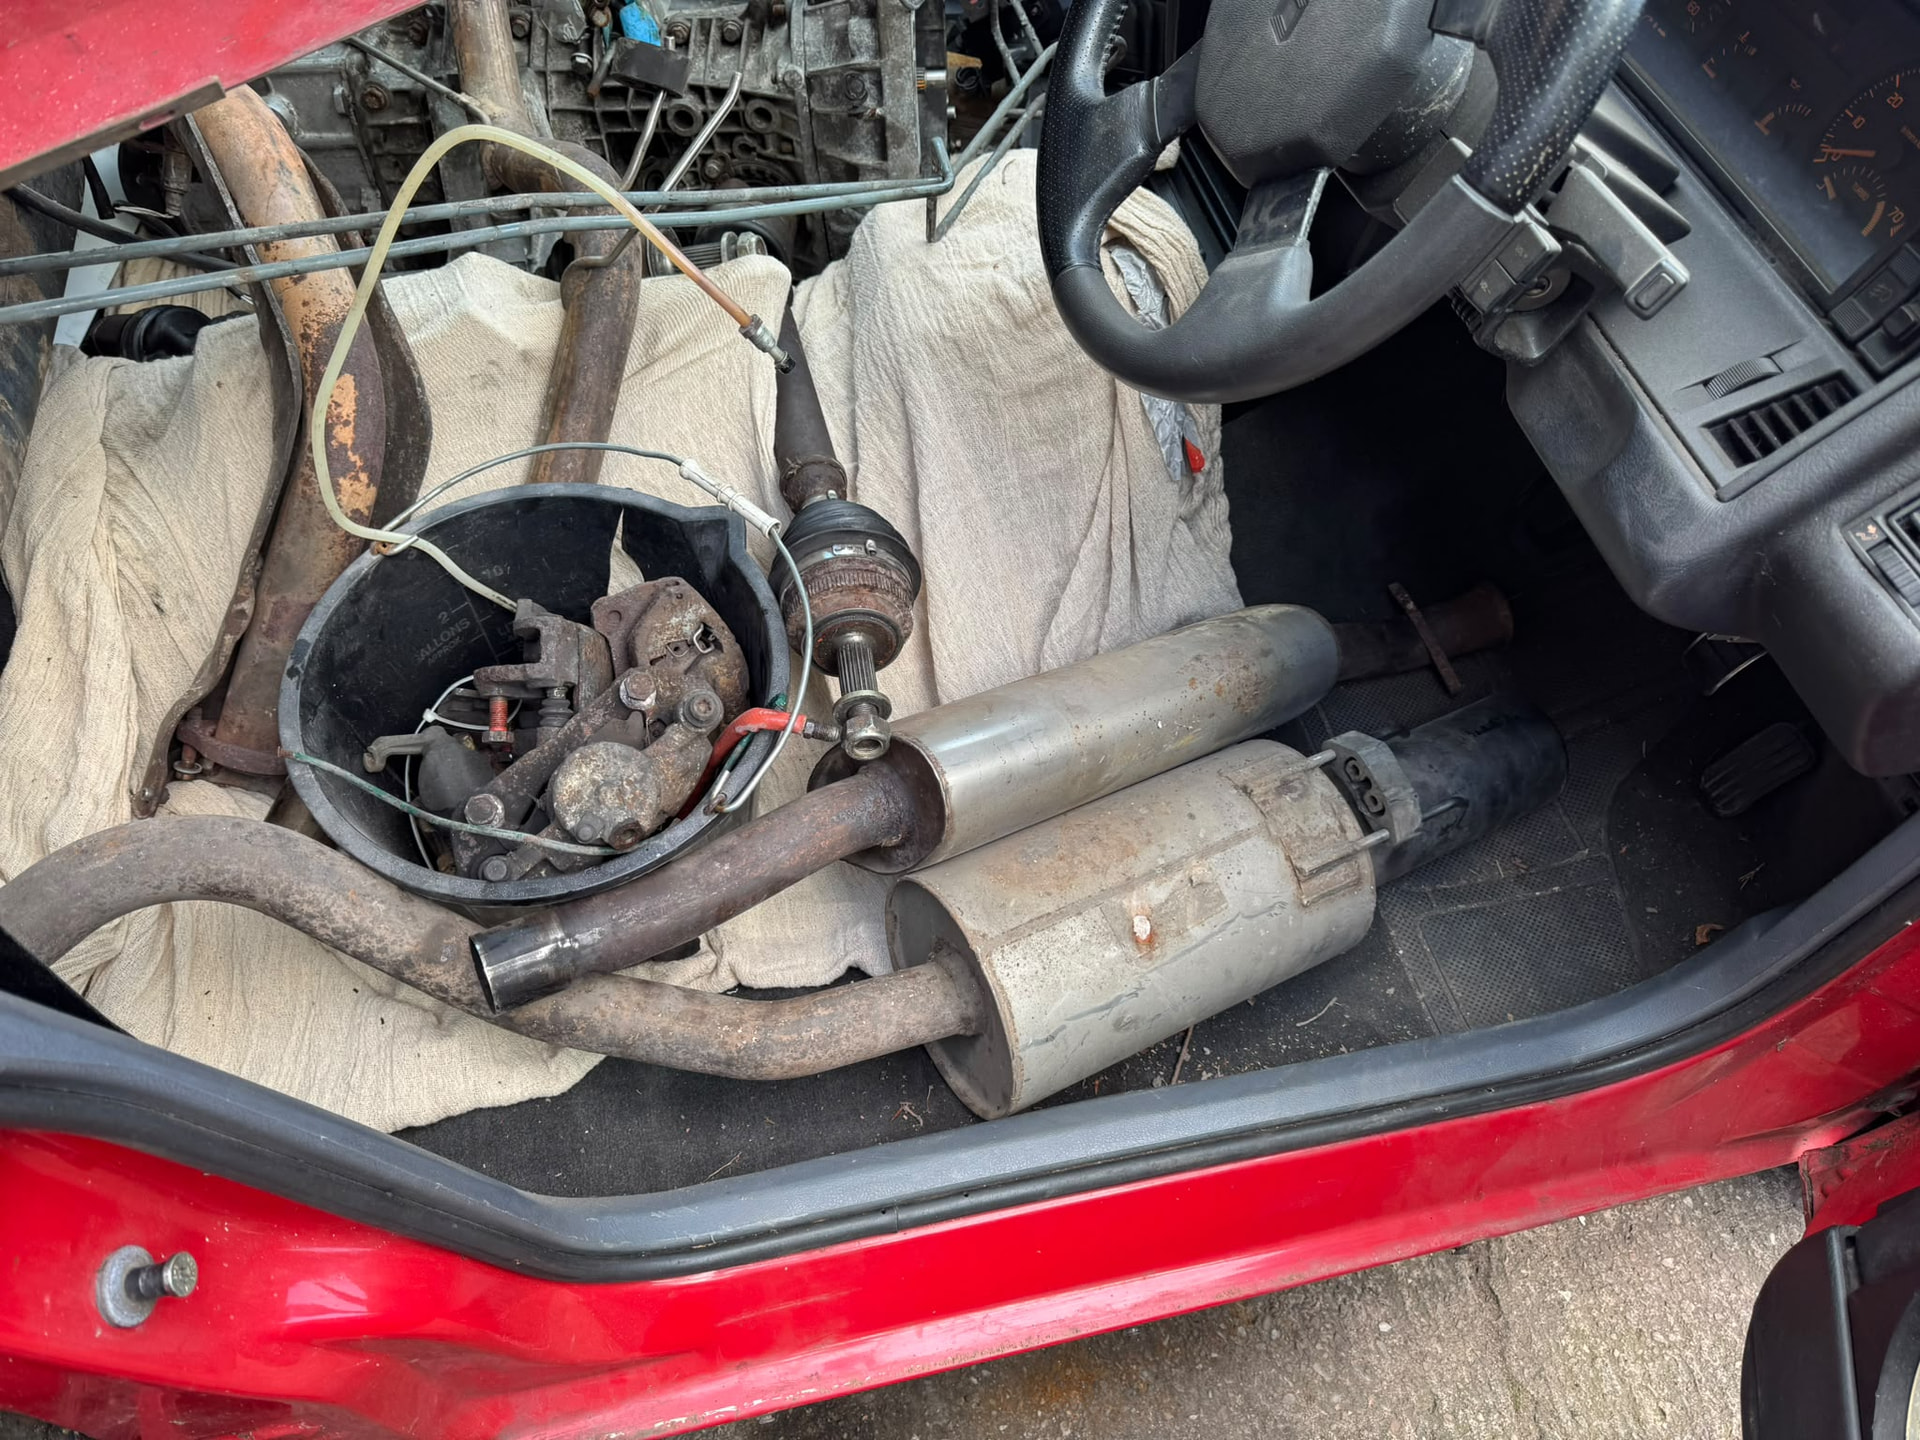
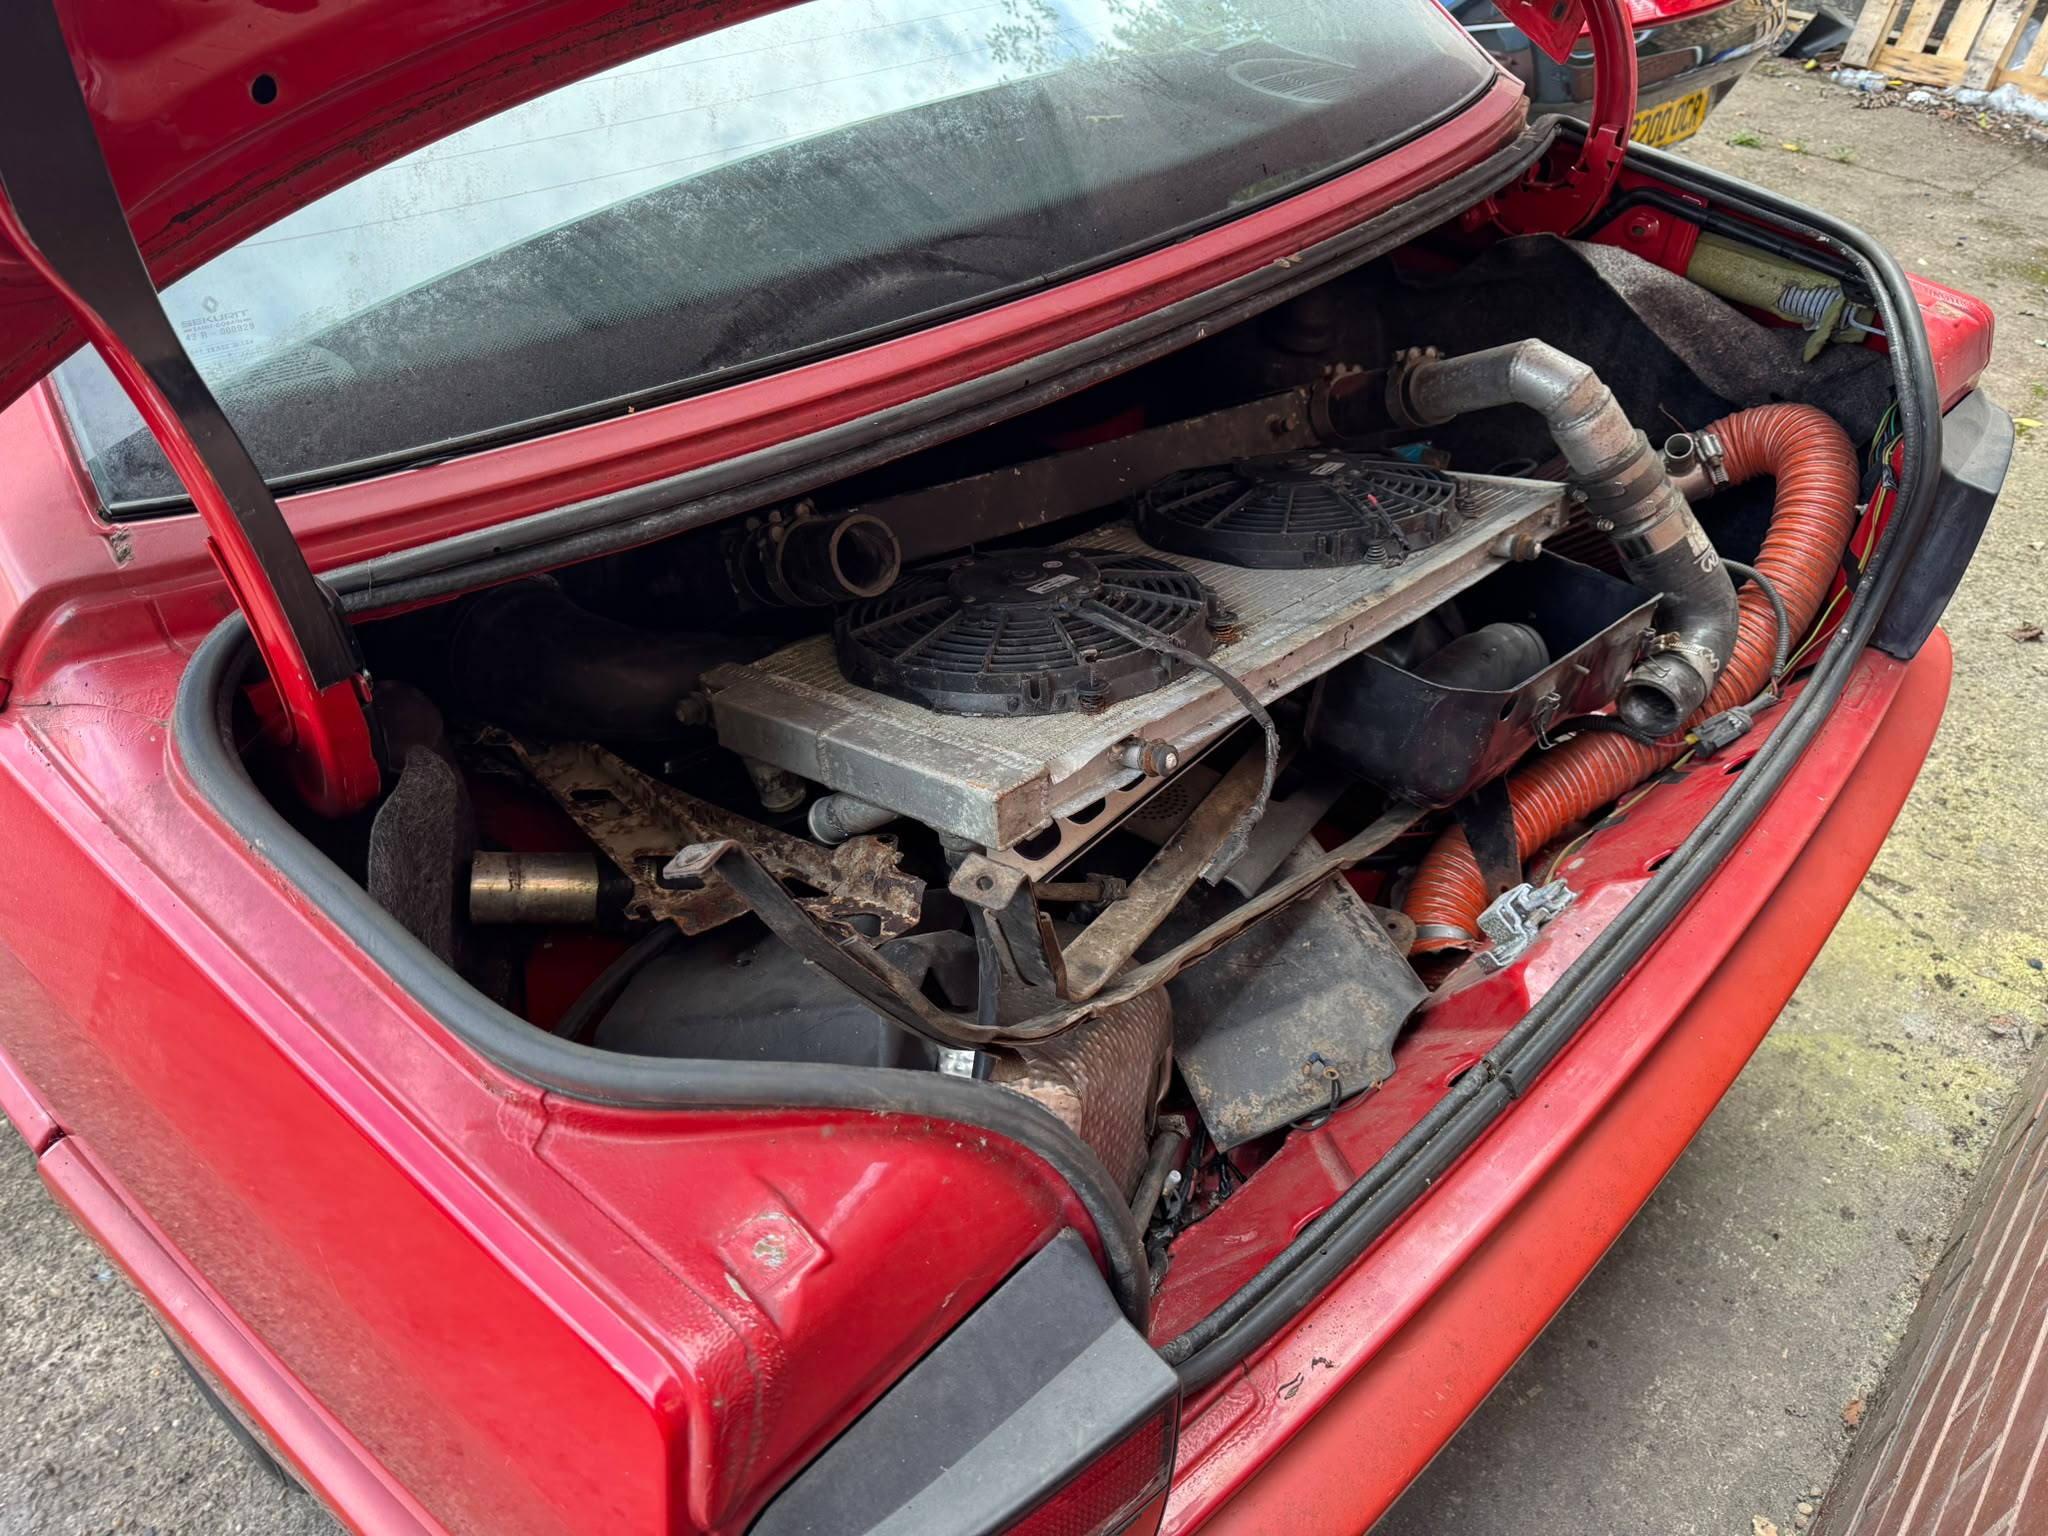
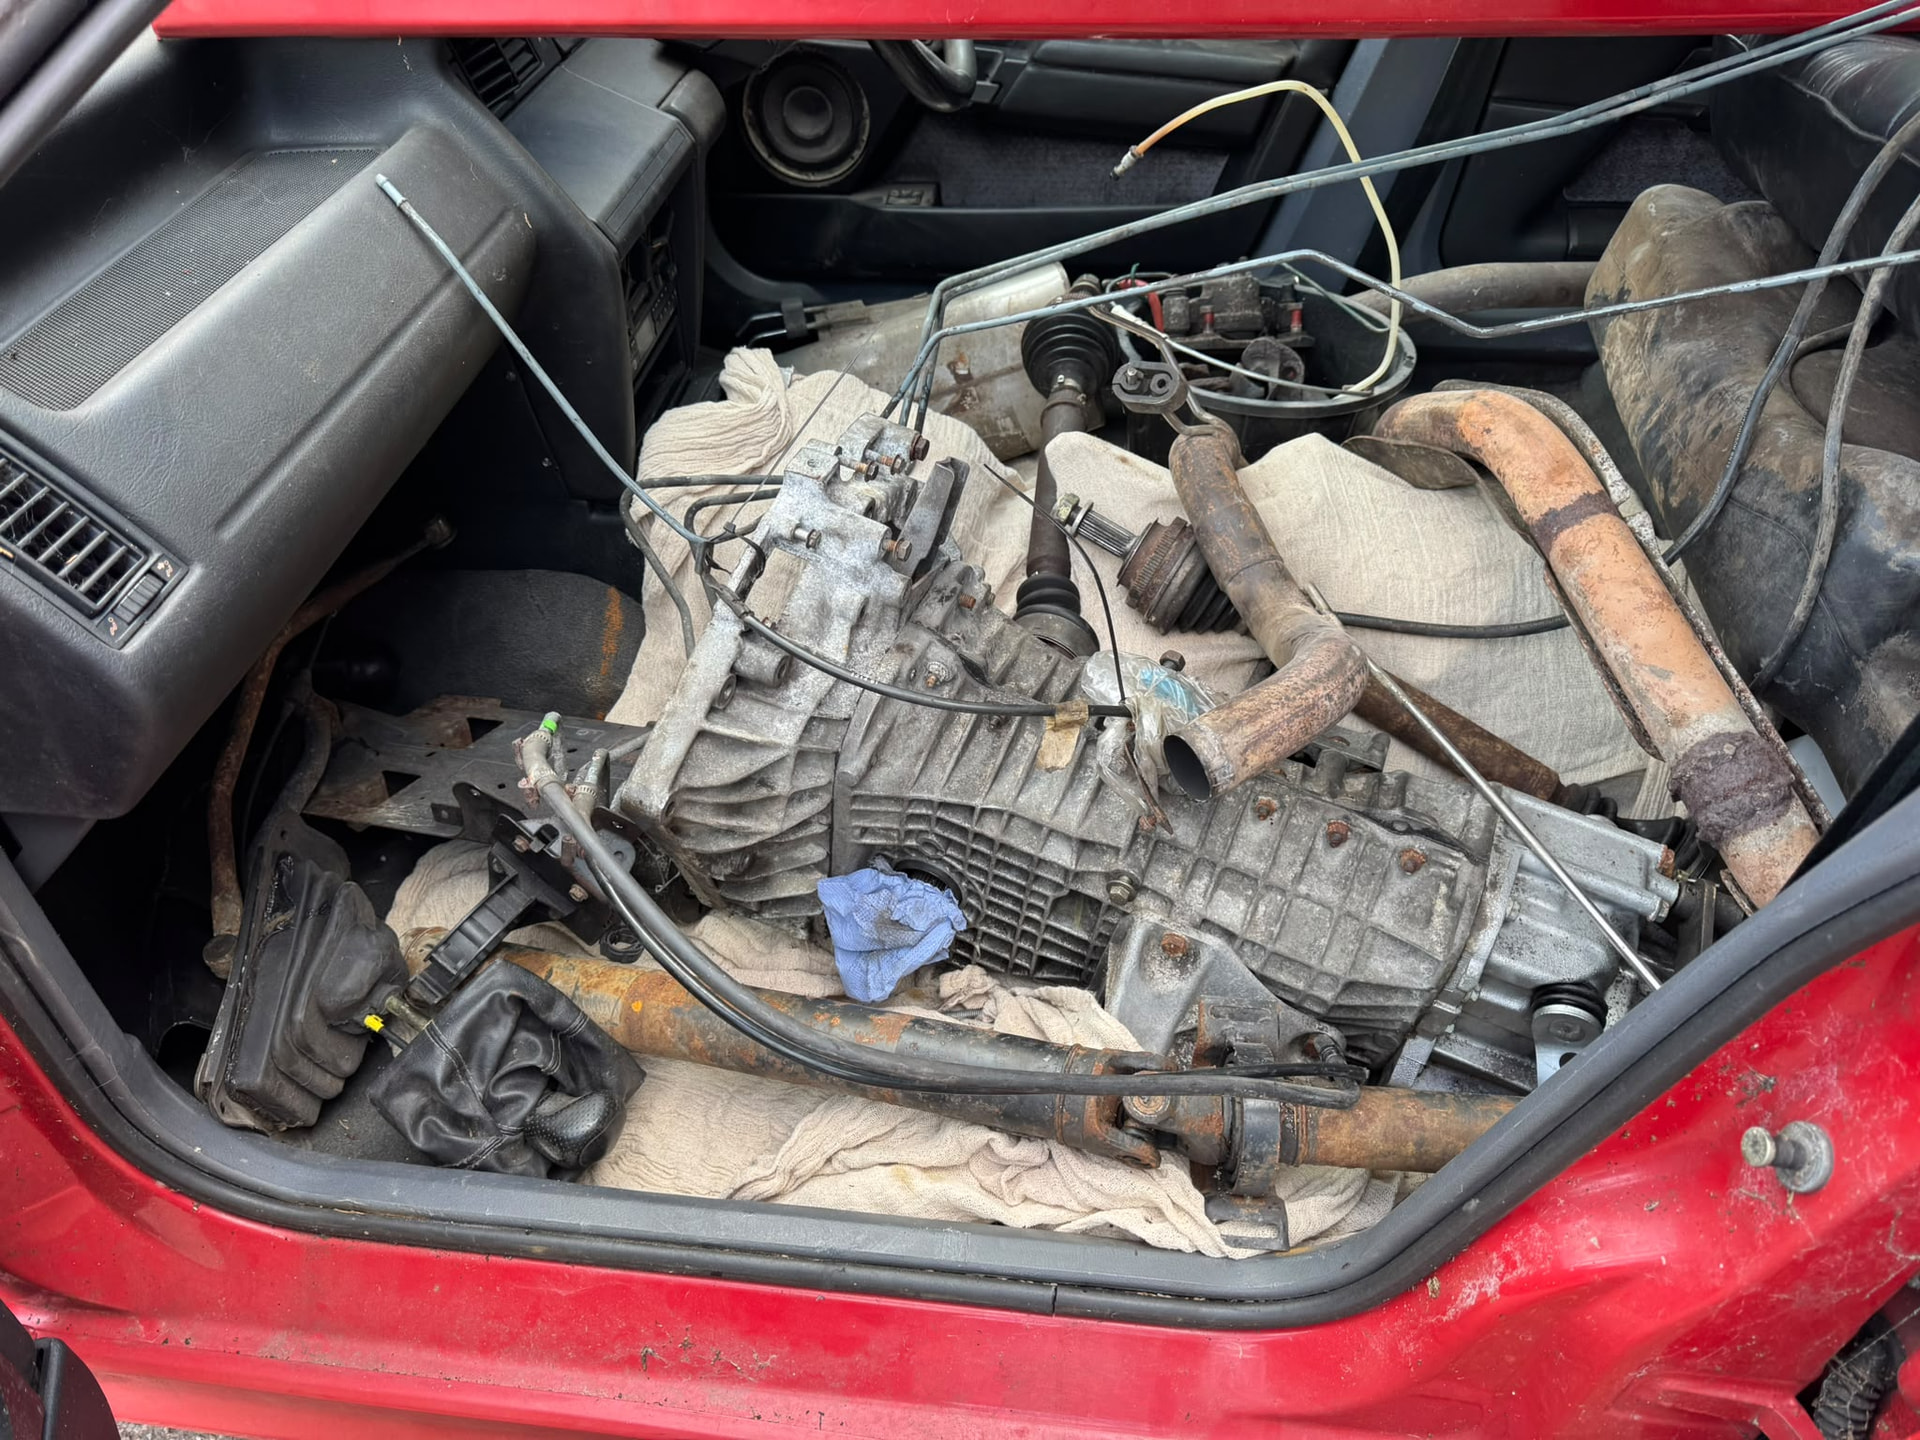
It’s unfortunate that these cars aren’t more sought after as it was borderline saveable but would need someone who is properly committed to do the work on it. Once mine is completed this will be fully stripped and a lot of standard parts will be available.
3 Likes